
15 Top Tips for Home Cooks
These are the top tidbits of advice I’ve learned over the years that have significantly improved my cooking and made my time in the kitchen more efficient.
This post may contain affiliate links, which means that I make a small commission off items you purchase at no additional cost to you. Please read my policy page.
I’m sharing my top cooking tips for creating flavorful, restaurant-quality home cooked meals.
1. Read an entire recipe though before starting. That way if there’s something you don’t understand you can ask or look it up. It’s also a good way to ensure you have all of the ingredients and equipment that you need. Need sheet pans or stainless steel mixing bowls for a recipe you may not have? Figure out any needed substitutions in advance. Reading it through will also allow you to cook faster!
2. Mise en place. French for “everything in its place”, means that you have all of your ingredients prepped and all your equipment in its place before you get cooking. Having everything prepped and measured while keeping it at arm’s reach will allow for a faster and less stressful cooking process. For example if you are making a recipe like 15-minute cauliflower and kimchi fried rice, your ingredients should be ready and in front of you; measured out, your fresh herbs chopped, your vegetables portioned and cut before turning on the stove.
3. Master techniques not recipes. Don’t get me wrong, recipes are great, but once you understand the fundamentals of cooking and how to use different techniques as recipes will be much easier and you can use them more like a guide. Understanding techniques will also allow you to play around with what you have on hand and substitute ingredients resulting in less food waste.
4. Don’t be afraid of salt (or all seasonings and spices for that matter). Seasoning the components as you go in layers results in much more complex flavors and thoroughly seasoned food. If you taste and season your food as you cook, you actually end up using less overall. Use citrus like lemon juice to finish a dish and add brightness. See my guide to a fully stocked kitchen for a list of all my favorite spices.
5. Use kosher salt! Skip table salt in favor for sea salt or kosher salt. When cooking, unless otherwise noted, I use coarse kosher salt as it tastes way better than iodized table salt. Because iodized salt granules, are much smaller and dissolve instantly, as opposed to kosher salt granules, you end up using more. I keep kosher salt for cooking in a small bowl next to my stove within arms’ reach for easy access.
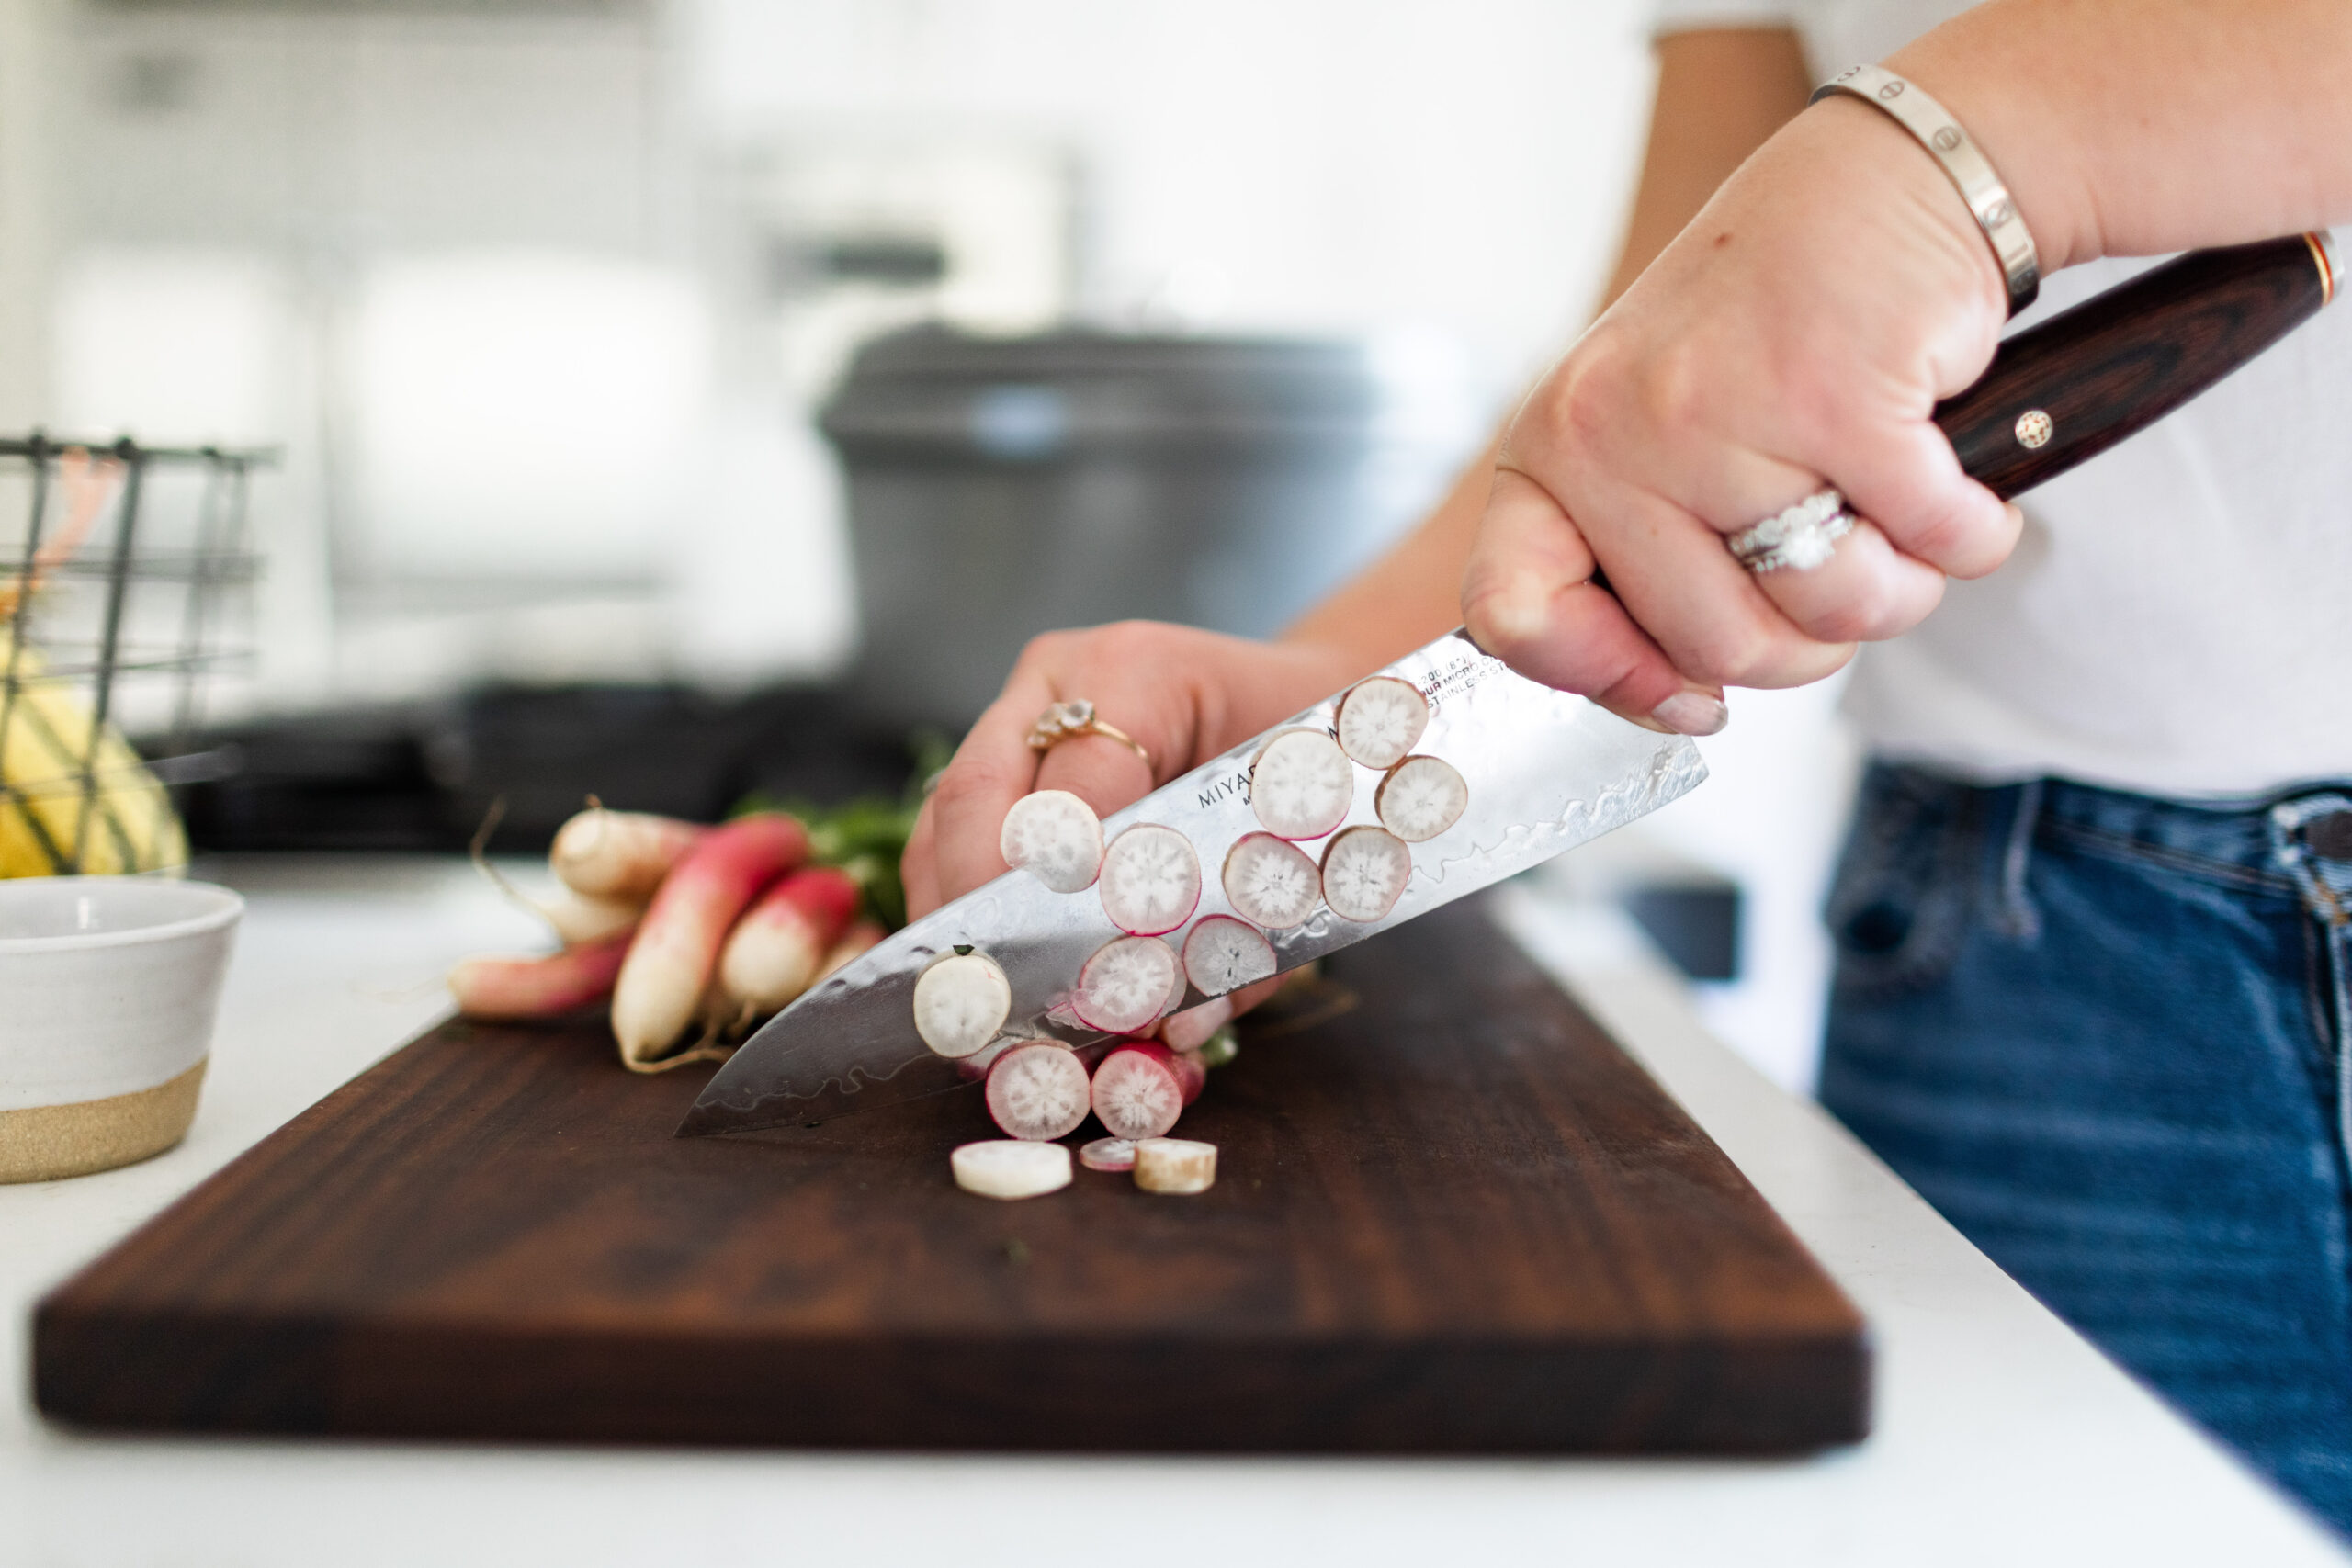
6. Sharpen your knives frequently. It’s actually more dangerous to cook with dull knives. Sharp knives also allow you to chop, slice or dice your ingredients more efficiently and without using as much energy. Using a sharp knife when cutting onions creates less cell breakage, thus less tear-inducing gas (and no need to buy extra kitchen gadgets).
7. Beware of oil splatter. If frying food, use heavy-bottomed pans that distribute heat evenly with high sides like a cast iron pan or a Dutch oven. Make sure you pat foods dry before frying so water doesn’t react with the oil and cause splatter. Never cook naked! Let oil come back to room temperature before discarding it. I keep old plastic bottles to easily funnel in old oil to discard it.
8. Don’t overcrowd a pan. When you are cooking in a pan most of the time you are looking to sear or sauté; overcrowding a pan will cause whatever you are cooking to steam and you won’t get a nice golden crust, as it will instead get soggy.
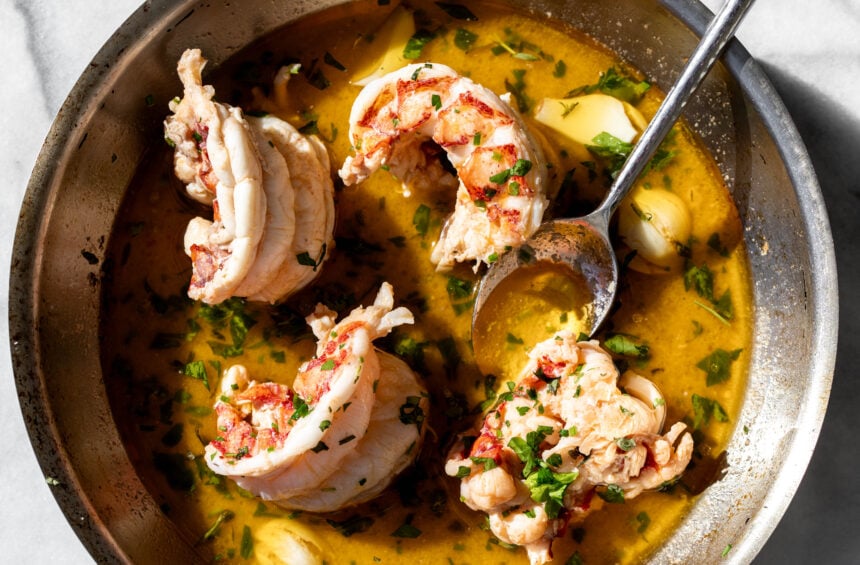
9. Dry proteins before searing. Use paper towels to pat dry any meat or seafood before searing it in a pan. This will help you to achieve the umami-flavored, golden brown crust on the outside. Don’t move your proteins in the pan before they have had a chance to develop that crust (known as the Maillard or browning reaction) otherwise it won’t develop. When your food is done cooking it should easily release from the pan and won’t stick.
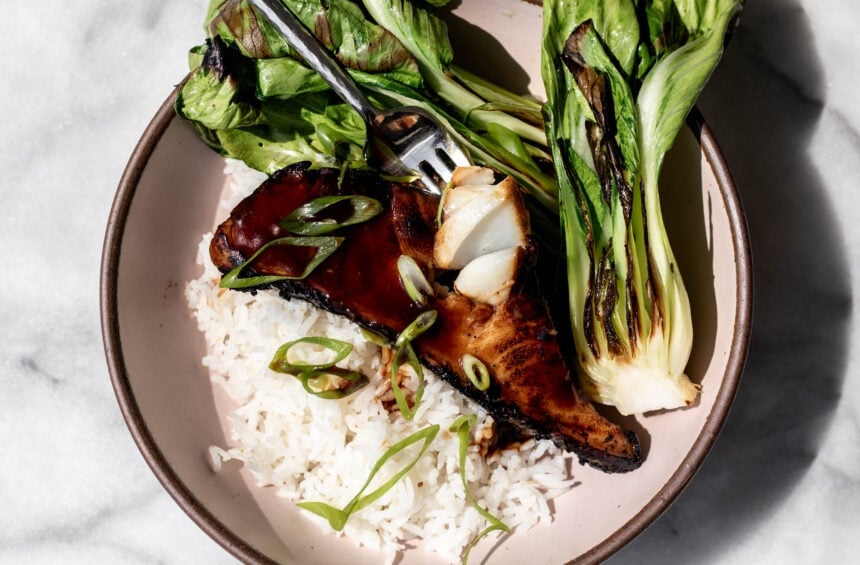
10. Let meat rest on a cutting board before slicing or serving. Be patient! Letting meat rest before slicing or cutting allows the juices to redistribute and be reabsorbed, keeping meat juicy. If you slice the meat right away the juices will seep out of the meat and it can become dry. Food continues to cook even when removed from heat so be aware that when you let it rest it will continue to cook. Factor the resting time in addition to cooking time when planning your meals calculating when to eat.
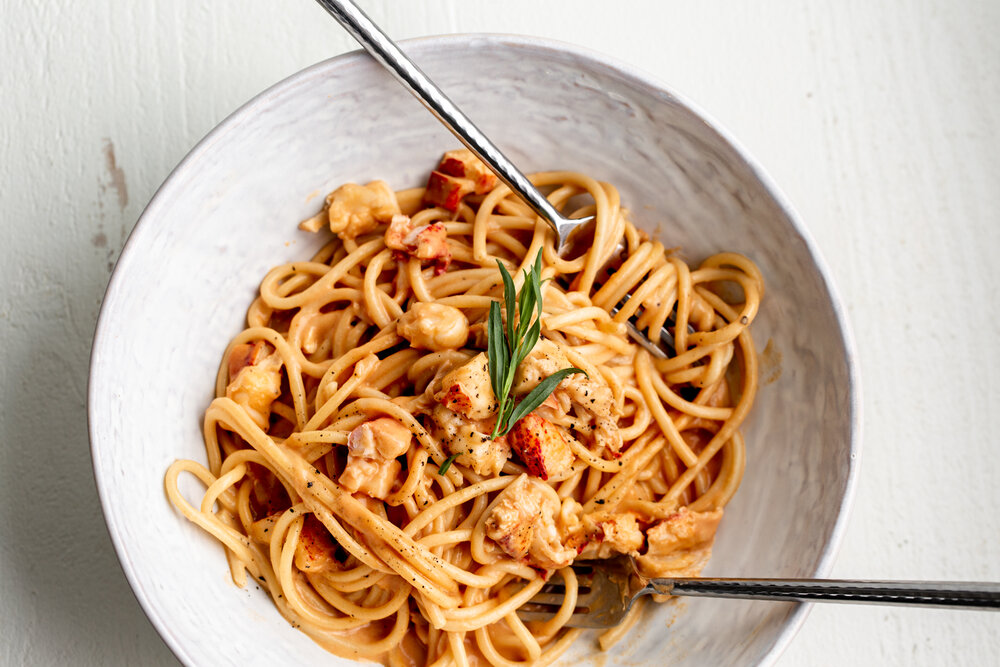
11. Save your pasta water to use in the sauce. Before draining my pasta I always set aside about a cup of the starchy pasta cooking water. Adding some of it to the dish later makes for a silky sauce, and binds the sauce to the pasta. It’s especially important in pasta dishes like classic cacio e pepe or bucatini all’amatriciana

12. Buy an oven thermometer. Most ovens are at least a few degrees off so buying a cheap thermometer on Amazon will let you know what temperature you should really set your oven to. This is big if you’re baking, a few degrees can make a big difference.
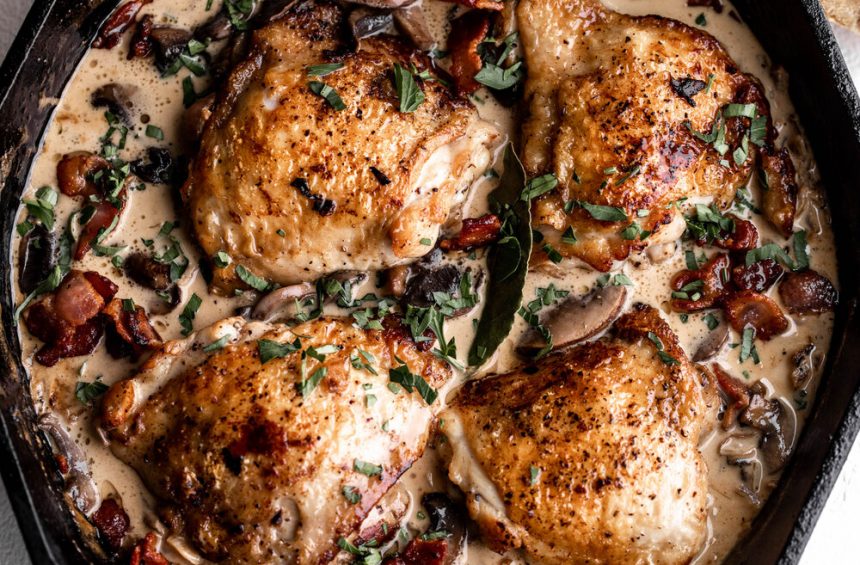
13. Save your bacon fat! I keep it in a jar in the refrigerator and use it in place of butter or fat for everything from making homemade flour tortillas to adding extra flavor when roasting vegetables. I also save my chicken fat or schmaltz for the same reasons. To remove excess oil from a dish, use an ice cube, it will freeze around the ice cube making it easy to remove.
14. Save your bones! Save leftover bones from meat and vegetable scraps for making homemade stock. I have a classic homemade chicken stock recipe here but you can use it as a guide and add whatever vegetable scraps or meat or seafood bones you may have for different types of stocks. Save parmesan rinds and add them to your stock or broth for a cheesy flavorful addition. Use it for a recipe like my homemade tortellini en brodo.
15. Not all oils are created equal. Different oils have different flavors and various smoke points. The “smoke point” refers to the temperature at which oil begins to break down and starts smoking. Fragrant pressed oils, like olive oil, have a lower smoke point and are better for use in quick cooked sautés, raw or in salad dressings while neutral flavor oils like canola or peanut oil with high-smoke points are good for high temperature deep frying.

Use these tips to become the next Food Network star! Feel free to drop in anything I might have missed in the comments below and follow me on Instagram!
Rate + Review
WHAT DID YOU THINK OF THIS RECIPE?