
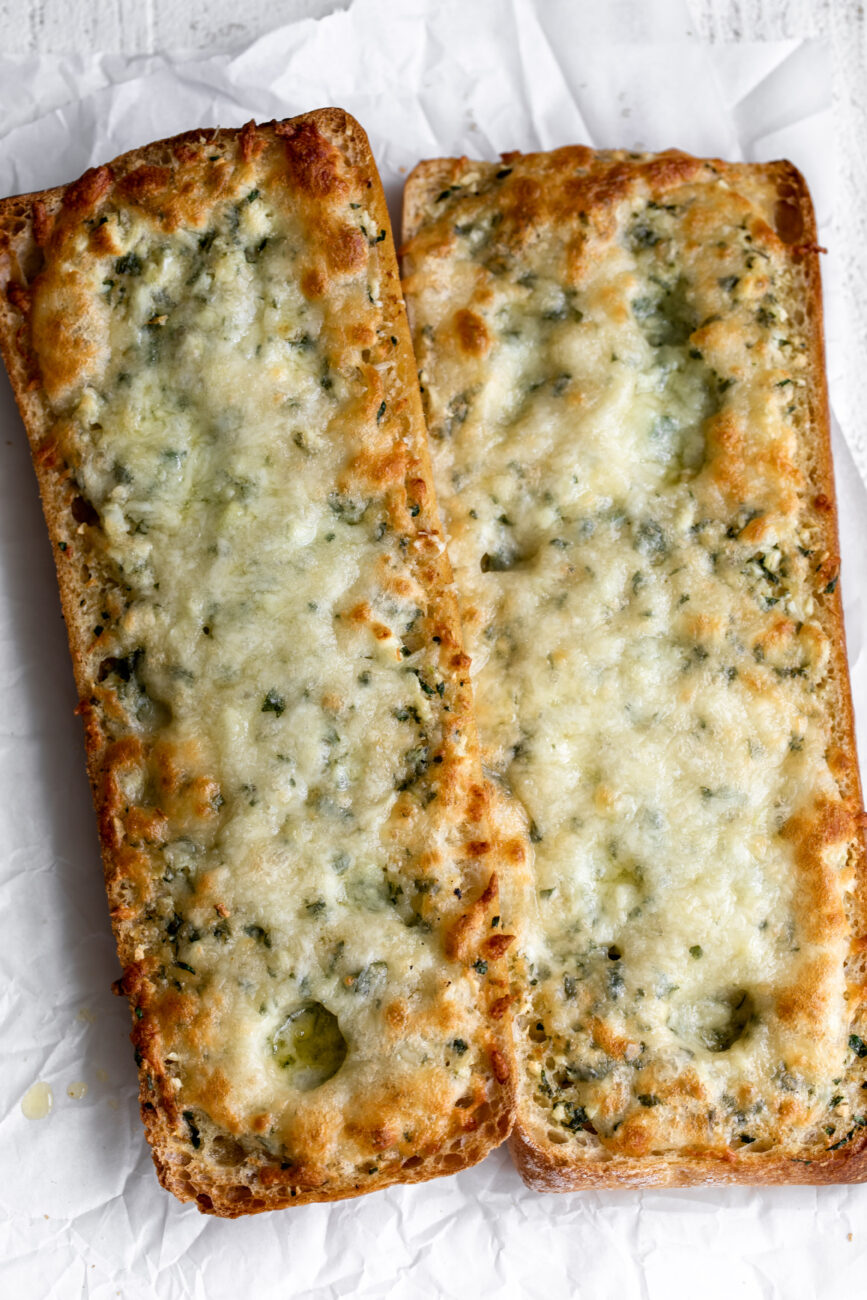
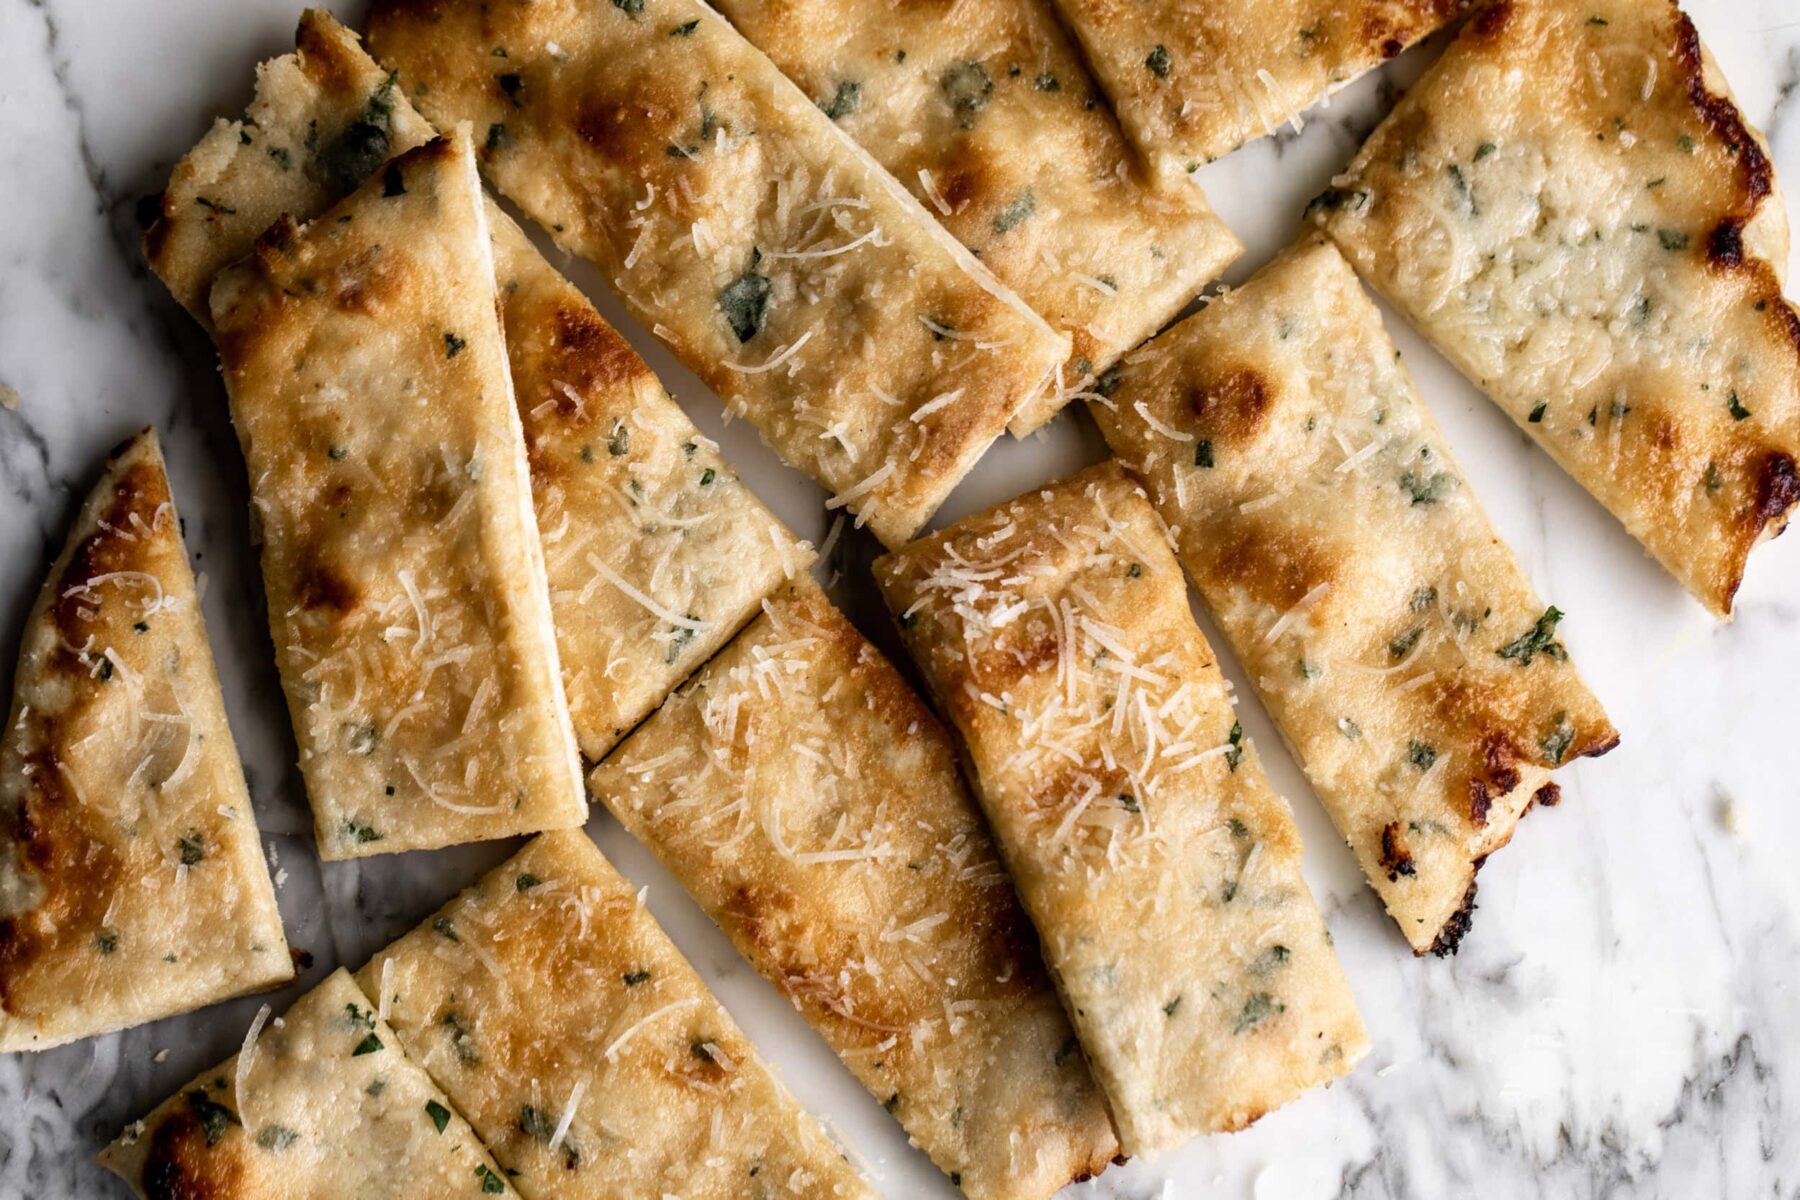
Cheesy Garlic Bread

jump toRECIPE
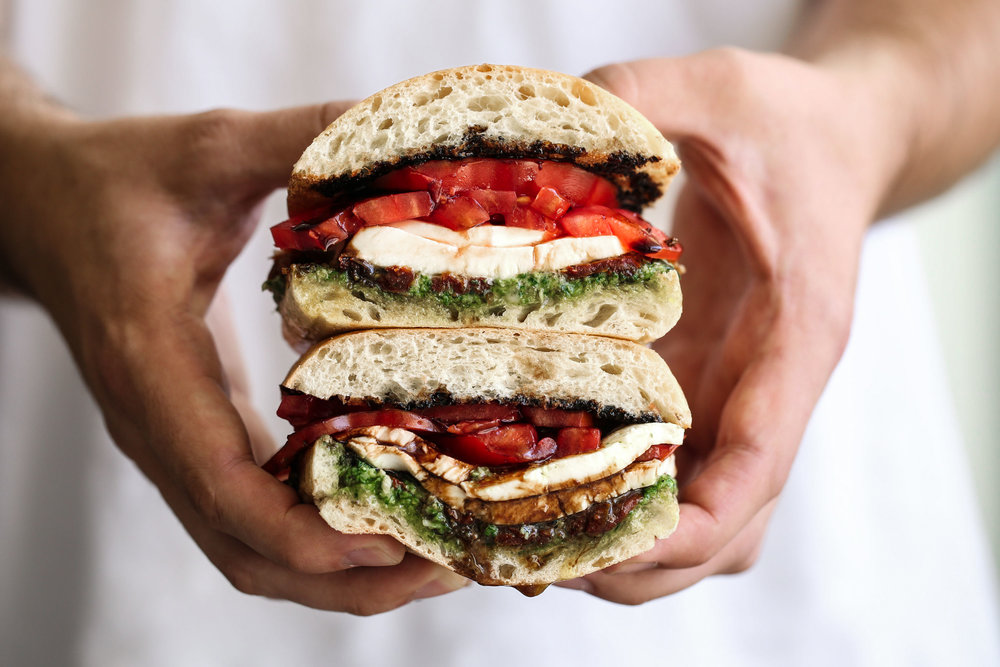
Who doesn’t love a piece (or five!) of cheesy buttery garlic bread? It’s a quick and easy side that can easily be thrown together for any dinner party. This version delivers crisp edges, a soft center, and layers of melty cheese and garlicky butter in every bite, making it a guaranteed crowd favorite. It’s the kind of simple, comforting side that works just as well for weeknight dinners as it does for parties and pasta nights. If this recipe made it to your family’s regular rotation, try my garlic butter tomato cheese bread or this cheesy garlic flatbread next.

Why You’ll Love This Recipe
- Ultra-cheesy – A generous blend of cheeses melts into every bite.
- Comfort food favorite – Irresistibly rich and satisfying for all ages.
- Easy to make – Minimal prep with big flavor payoff.
Key Ingredients in This Recipe
- Ciabatta – Ciabatta is an Italian bread with a chewy exterior. I love ciabatta for it’s light and airy crumb – when you cut it open you notice lot’s of air holes. While you can use French bread, I choose to use ciabatta because the butter melts into all the holes and crevasses and you get a little extra crunch.
- Butter – I always use high quality butter. I recommend looking for European butter which has a slightly higher fat content. I typically use unsalted butter when cooking but for this compound butter I choose salted butter. The salted butter brings out the flavor of the garlic and cheese.
- Garlic – I use fresh cloves of garlic, the pre-minced jars of garlic don’t taste the same. It loses a lot of the powerful garlic flavor when it’s jarred. This is because it has been soaked in water for a long period of time. Peeling garlic only takes a bit. As the garlic is sautéed the flavor mellows so it’s not very pungent but adds a base flavor.
- Mozzarella – Rather than using fresh mozzarella I use part-skim shredded mozzarella in this recipe which melts evenly over the garlic bread for the cheese pull of your dreams.
- Parmesan – Parmesan-Reggiano is definitely one of my favorite cheeses. It’s a hard cow’s milk cheese aged for different lengths of time. I’d recommend buying a roughly cut piece of wrapped cheese from the grocery store – it’s typically a higher quality cheese.
A full ingredient list with exact amounts can be found in the recipe card below.
Pro Tip
Grate the cheese yourself instead of using pre-shredded cheese, which melts more smoothly and evenly since it doesn’t contain anti-caking agents that can prevent that ultra-gooey texture.
Swaps and Substitutions
- Bread: Use sourdough or a baguette if you don’t have a loaf of ciabatta on hand.
- Cheese: Try mozzarella with provolone or fontina for variation in flavor.
- Garlic: Use roasted garlic for a milder, sweeter garlic flavor.
- Herbs: Substitute basil or oregano if parsley isn’t available.
How to Make Cheesy Garlic Bread (Step-by-Step)
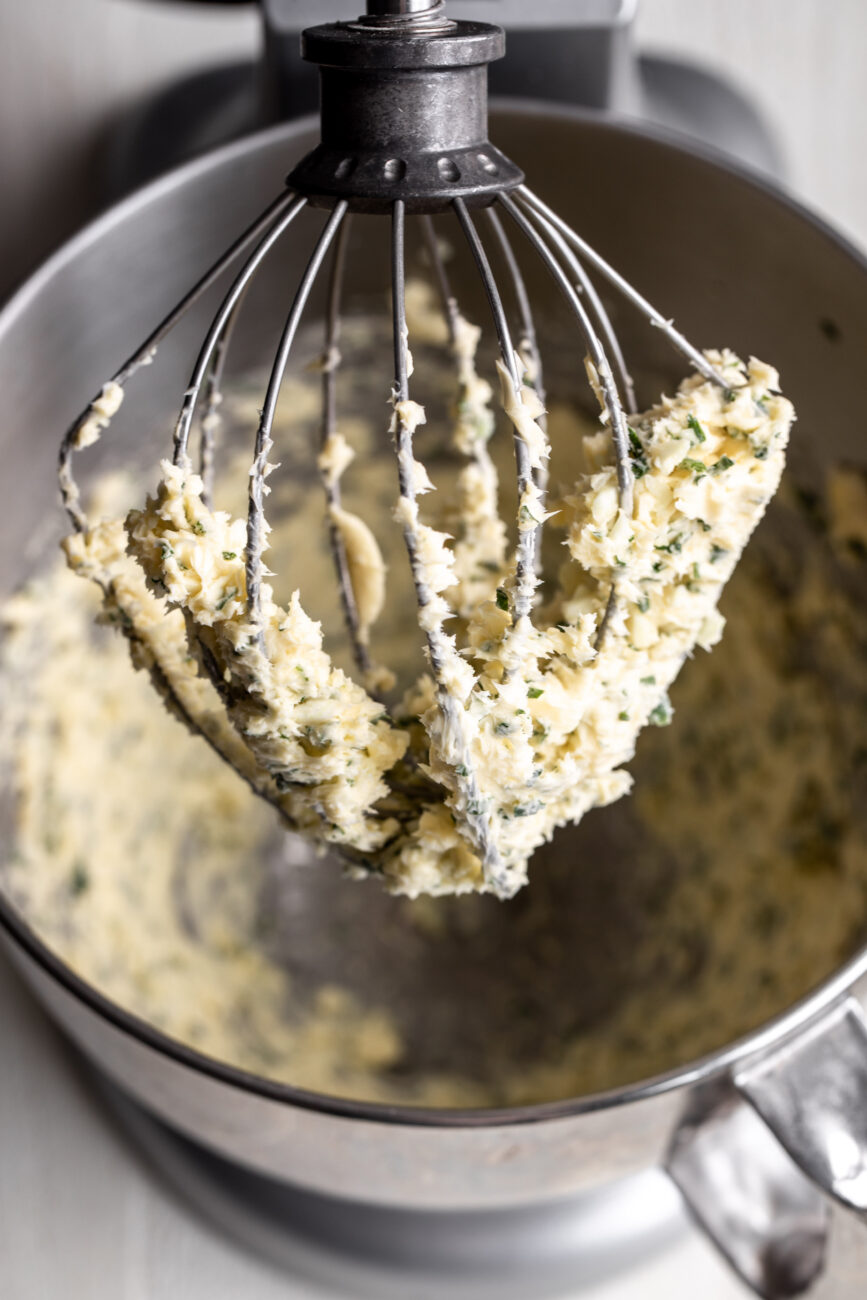
In the bowl of a stand mixer fitted with the whisk attachment add the butter, garlic and parsley and mix on medium-low speed until thoroughly combined and soft.
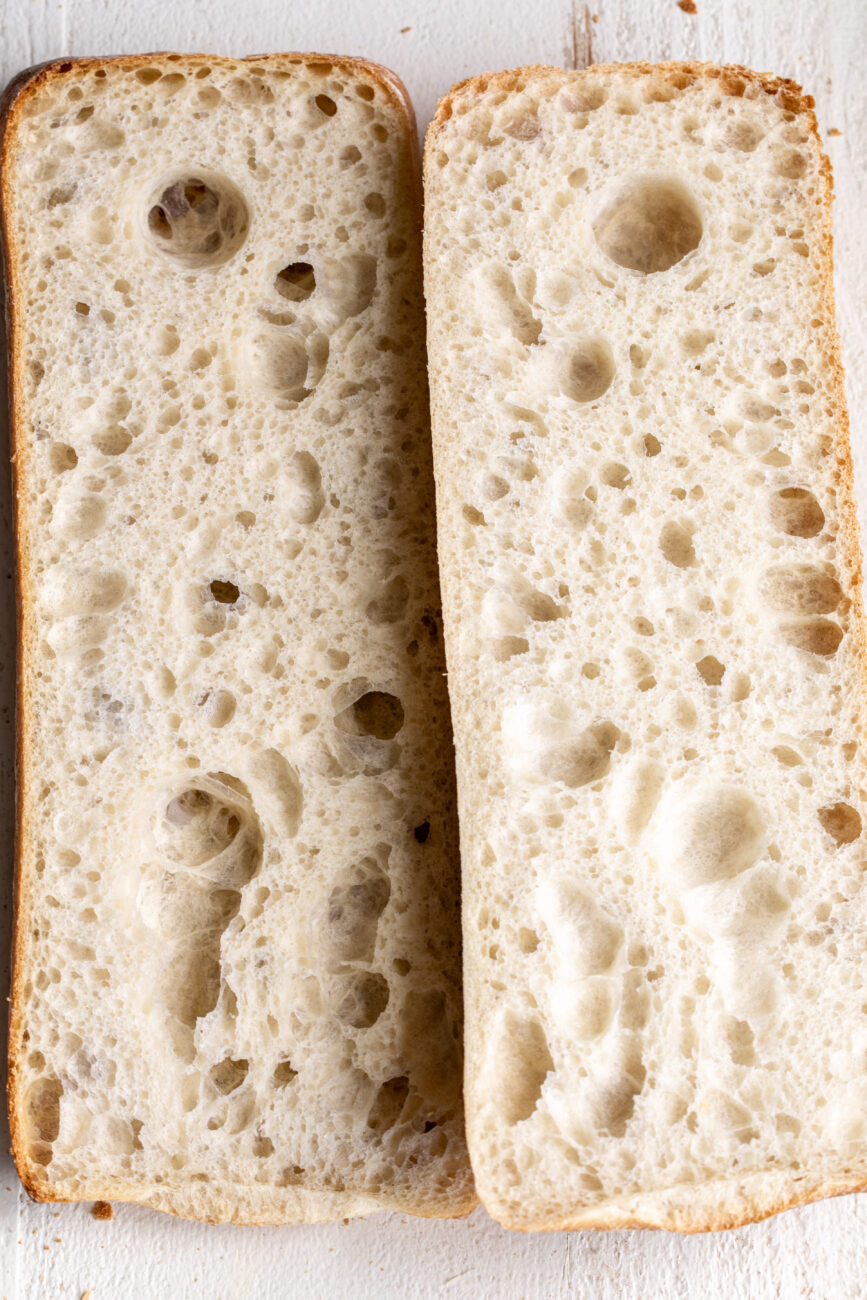
Preheat oven to 375ºF (190ºC). Lay both halves of the bread on an aluminum-foil lined baking sheet cut-side up.
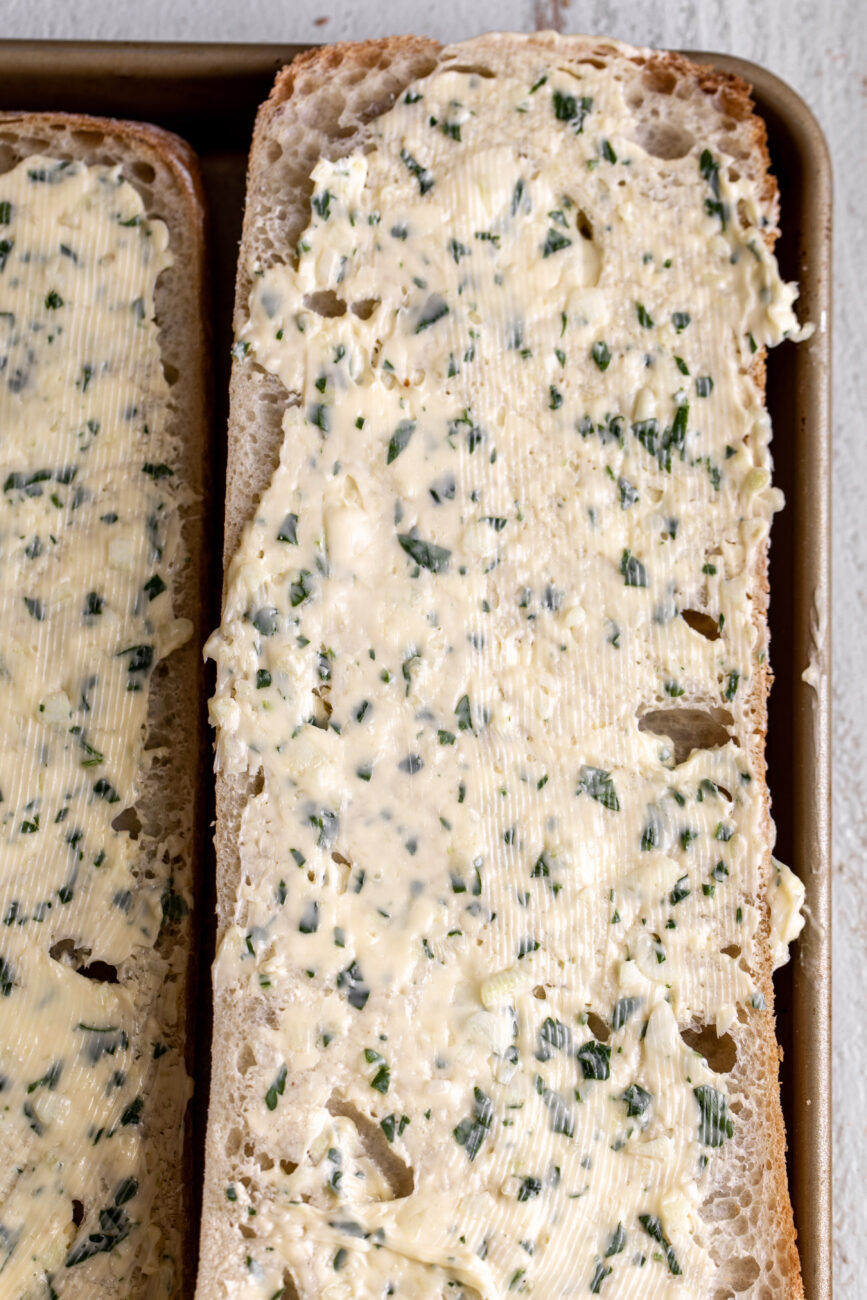
Use a knife to spread the butter evenly over both sides of the bread.
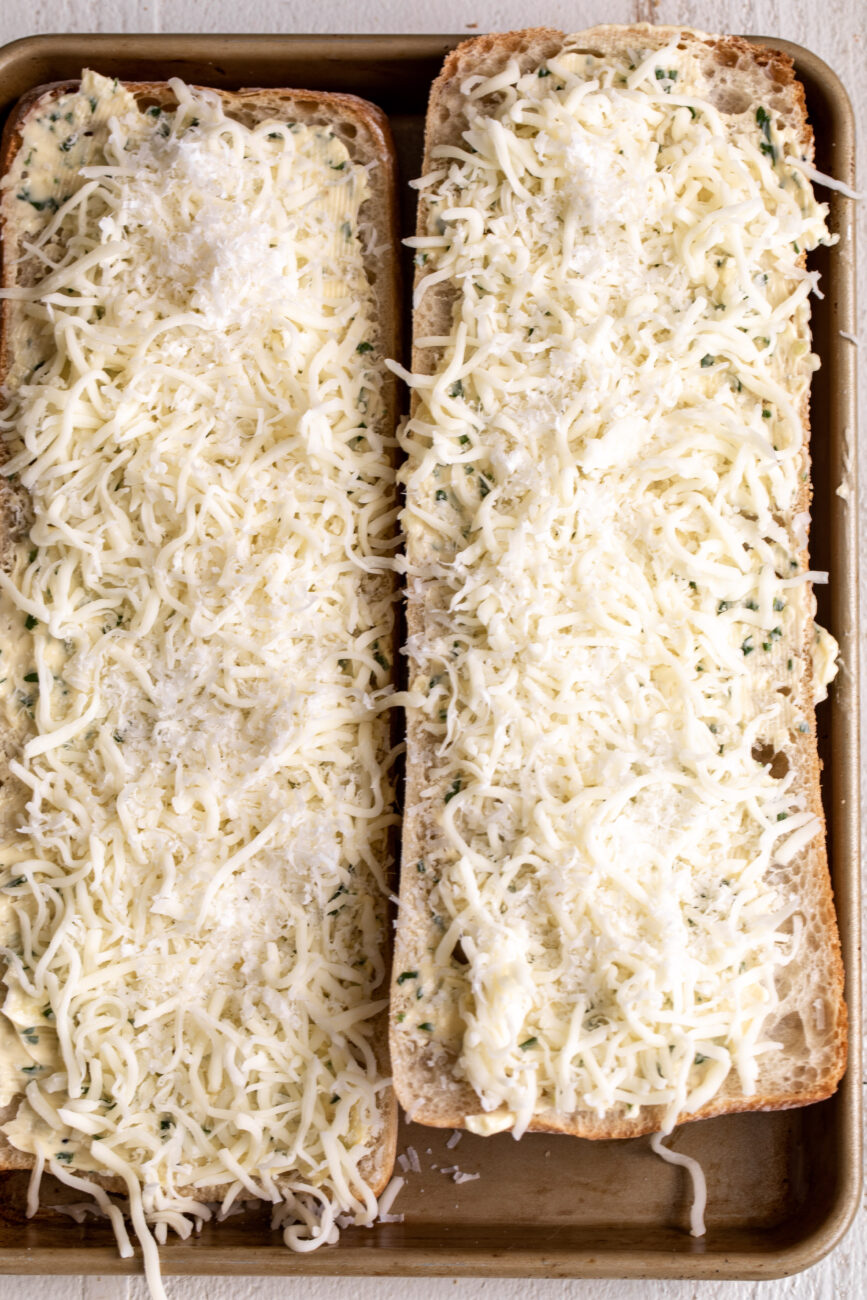
Top the bread with the mozzarella and Parmesan.
Bake until the cheese is melted and the top is lightly browned, about 12 to 15 minutes.
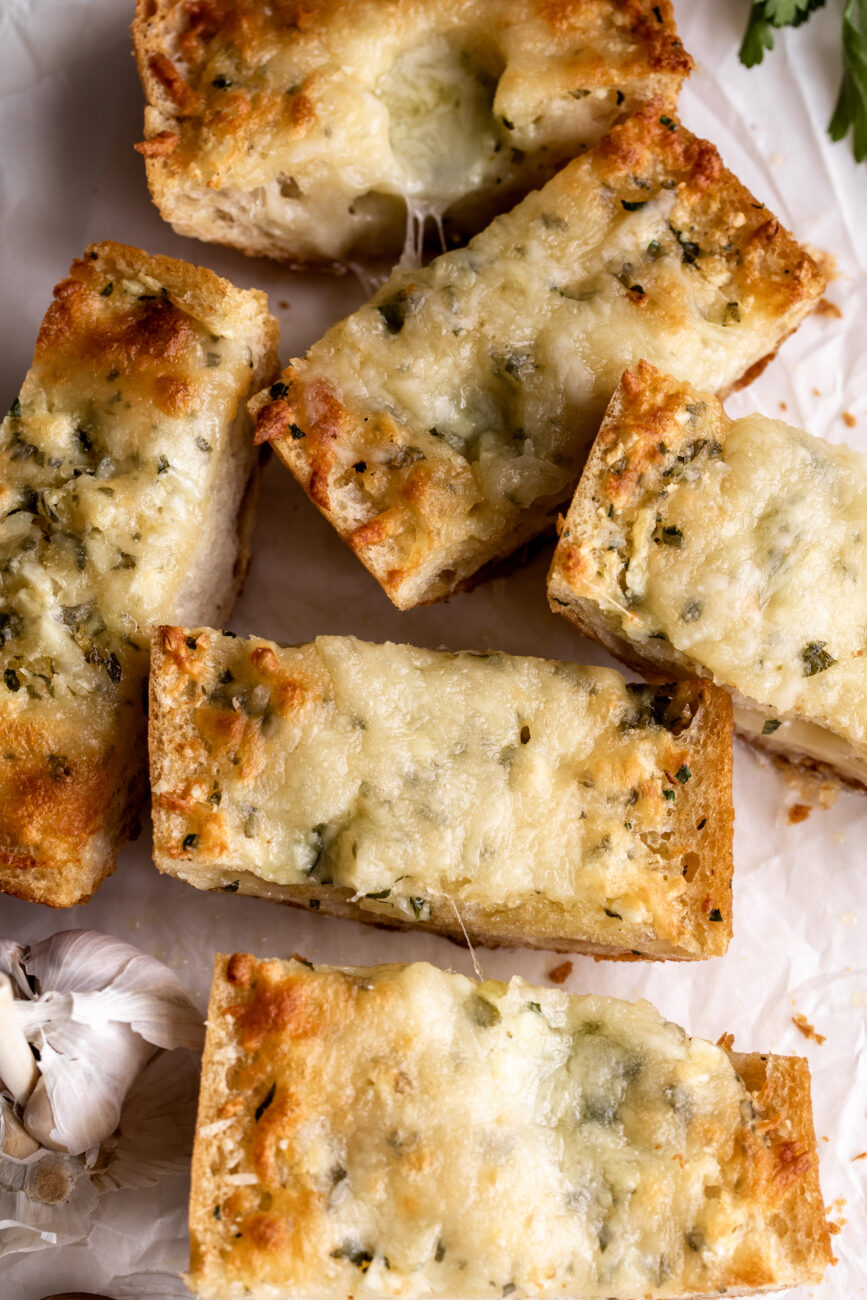
Cut into 2” slices and serve immediately.
How to Serve Cheesy Garlic Bread
- With dinners: Pair with pasta, lasagna, or your favorite Italian entrees.
- As an appetizer: Serve on a platter with marinara sauce for dipping.
- For gatherings: Cut into pieces for sharing at game days or potlucks.
How to Store Cheesy Garlic Bread
- Refrigerator: Store leftover cheesy garlic bread in an airtight container for up to 2 days.
- Reheating: Warm in a hot oven or toaster oven to re-crisp the edges and melt the cheese again.
- Freezing: Wrap tightly in foil and freeze for up to 1 month; reheat from frozen.
FAQ – Frequently Asked Questions
If you don’t have a stand mixer, you can easily mix the compound garlic butter in a small mixing bowl. When using this method I recommend ensuring the garlic is very soft and pliable.
Yes, assemble earlier in the day and bake just before serving for the freshest texture.
A combination of mozzarella and provolone or fontina gives the best melt and flavor.
Yes, use a gluten-free bread loaf to make it gluten-free.
Serve it hot and reheat in a hot oven to keep the crust crisp.
Yes, add toppings like red pepper flakes, extra herbs, or even crispy bacon bits.
Other Recipes to Try
If you keep thinking about this cheesy garlic bread long after you’ve finished it, try one of the following recipes:
Tried it? Loved it? Tweaked it? Leave a review below and tell me how it went – I’m all ears (and always hungry).
Cheesy Garlic Bread
Rate this Recipe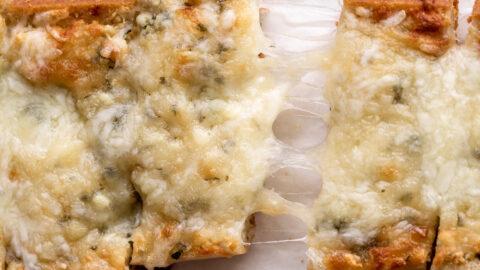
Ingredients:
- 1 loaf ciabatta bread, sliced in half lengthwise
- 8 tablespoons salted butter, at room temperature
- 4 garlic cloves, minced
- 1 tablespoon chopped flat-leaf parsley
- 2 cups shredded mozzarella cheese
- ½ cup grated Parmesan cheese
Instructions:
- In the bowl of a stand mixer fitted with the whisk attachment add the butter, garlic and parsley and mix on medium-low speed until thoroughly combined and soft.
- Preheat oven to 375ºF (190ºC). Lay both halves of the bread on an aluminum-foil lined baking sheet cut-side up.
- Use a knife to spread the butter evenly over both sides of the bread then top with the mozzarella and Parmesan.
- Bake until the cheese is melted and the top is lightly browned, about 12 to 15 minutes.
- Cut into 2” slices and serve immediately.
Notes:
Nutrition:
TAG ME ON INSTAGRAM TO BE FEATURED ON MY STORIES! @cookingwithcocktailrings
I needed to use some sandwich rolls quickly and these were a slam dunk. They’re super easy to make (and customize) so I ended up making several different “flavors” and froze what we didn’t eat. Such a great way to reduce food waste.