
How to Style Food Photos
A well-styled and well-photographed photo of food can help you achieve many different goals. Good food photos have the power to draw people in, make them stop scrolling, evoke hunger or nostalgia, convince them to make the recipe, or convince diners that they need to both visit a restaurant and order a specific dish.
A common misconception is that many Instagram-worthy food photos are quickly snapped and posted. In reality they each take a lot of strategic planning.
A classic question people ask food photographers and food bloggers is why their version of a dish doesn’t look exactly like the great shots which accompany the recipe on the blog.
The truth is it takes time to style the dishes. You choose what plate will complement the recipe best, plating and fluffing the food and using tweezers to perfectly place garnishes over the top to contrast against something like a bowl of soup. Next, comes the background and accents to make the dish pop. It’s also important to choose the right camera settings and finally, decide on an editing style. Getting that great shot isn’t just a matter of making good food, it’s knowing how to style it.

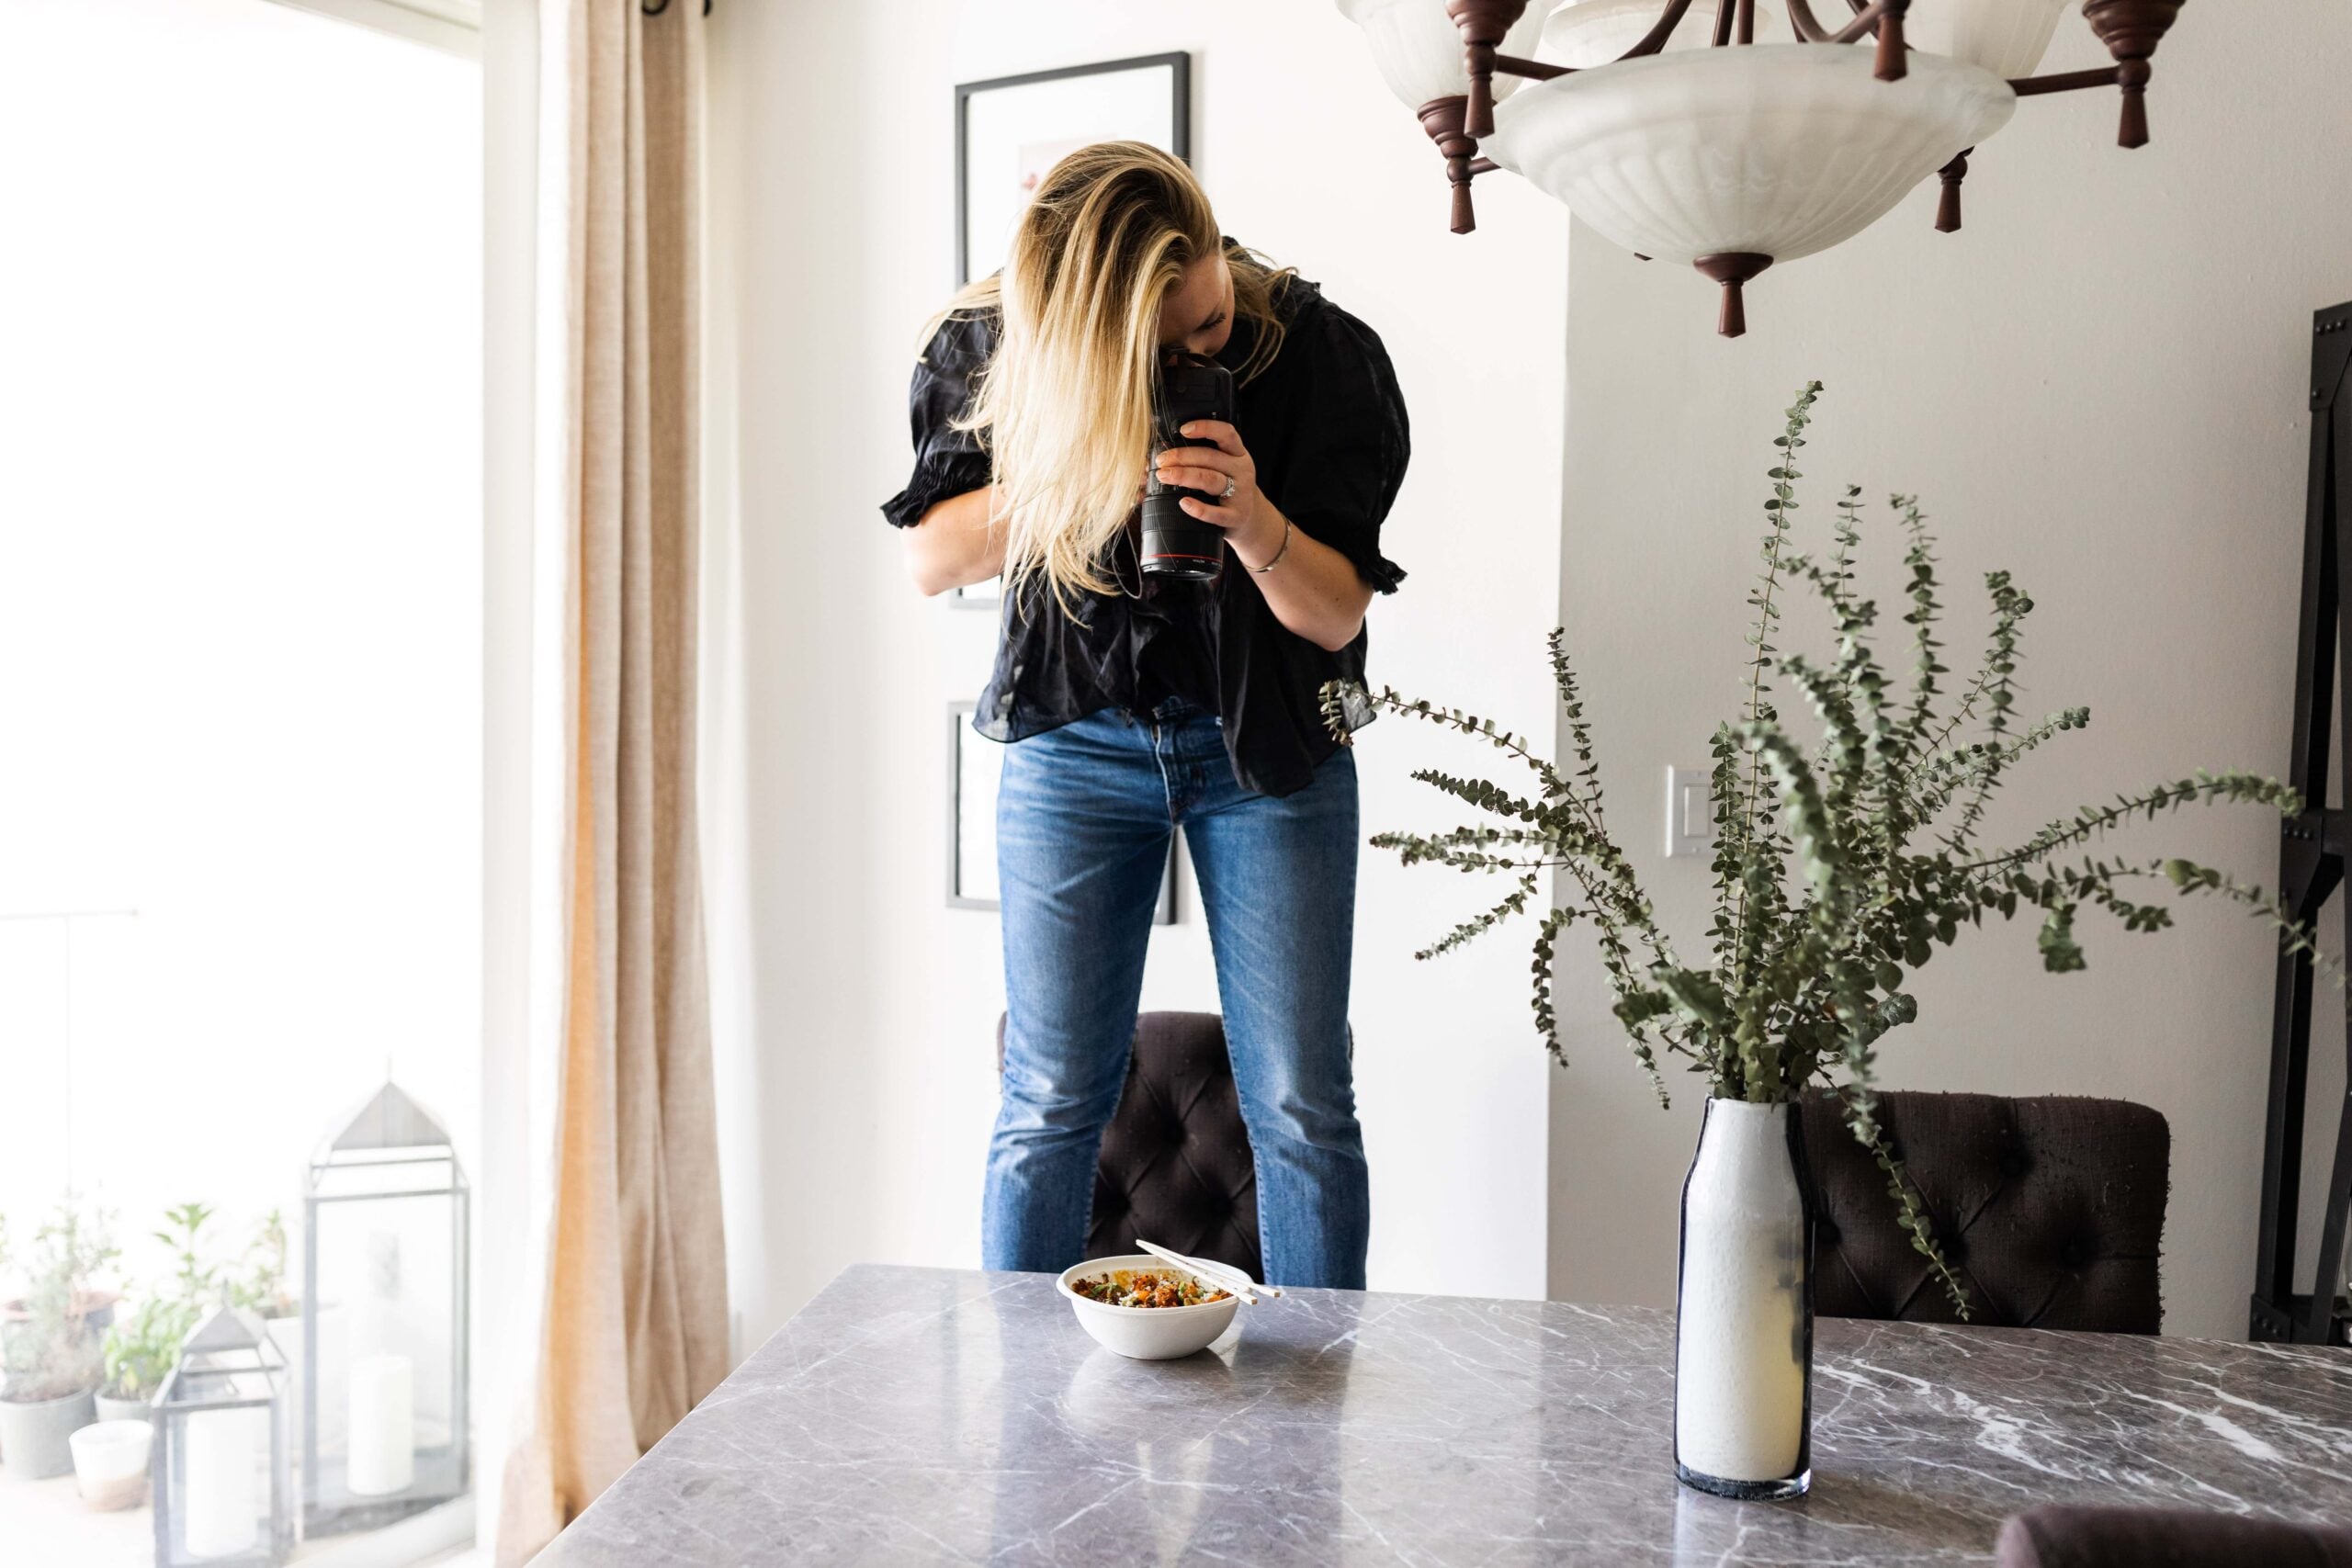
While food stylists focus purely on the styling and don’t actually photograph the food, as a food blogger I do a bit of everything. I don’t have a sprawling studio where I take my photos or a room with organized shelves filled with my props – I live in a one bedroom Brooklyn apartment. My props are kept in closets and in my favorite Pottery Barn sideboard. I have plenty of props for different scenarios and food photography styles. However, there are certain dishes and backgrounds that are my go-to’s for good looking food photos.
While most professional food stylists use tips and tricks to enhance the flavor of the food (like using mashed potatoes as a stand-in for ice cream) which also happen to render the food inedible, I eat everything I photograph for lunch or dinner!
With the right food styling knowledge and a few photography tips, you can take appealing photos in the comforts of your own home. I’m sharing practical and useful tips on improving your food photos using the right styling strategies as well as sharing some of my favorite products and where to find them. You don’t have to be a professional photographer or food blogger to use these tips – they will even help to improve your iPhone photos.
TIPS
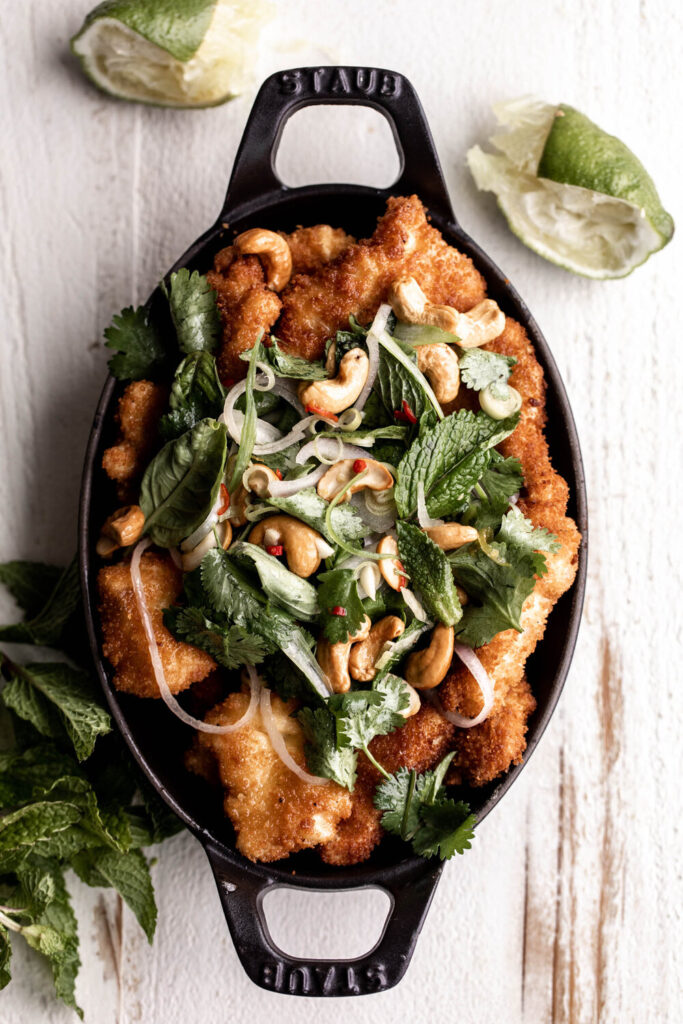
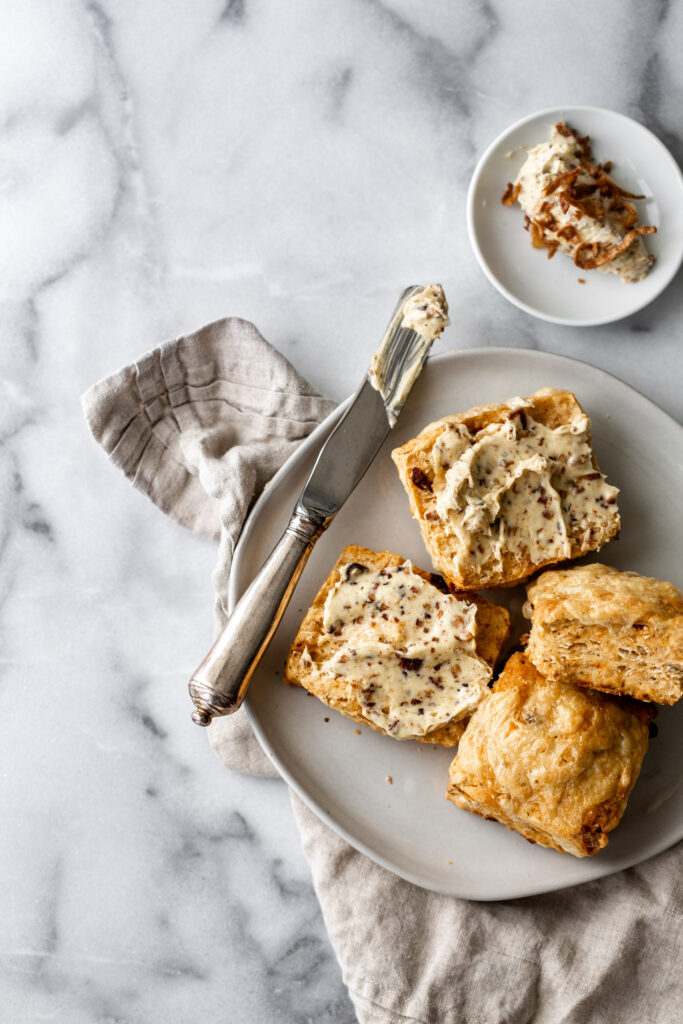
Always include at least two colors in food photography.
A dish that is totally beige (like fried food) doesn’t have much dimension. It can look very flat and unappealing so I typically try to include at least two colors to create a contrast, even if the color comes from the plate it’s served on.
You can also add a few green garnishes to the top. Creating that dimension helps to achieve those great shots.
Find your food photography style.
This doesn’t mean you have to keep the same style forever. For each shot or recipe you are photographing it’s beneficial to decide on a decisive look or style.
Do you want it to be a light and bright summery recipe? Or a moody and dark, shadowy image? Do you want to use cool temperature colors like shades of blue, or warm colors like oranges and reds? Deciding this will help you to choose what props to use and can help establish a consistent style. For example these days I really love focusing on light, bright photos using neutral-colored props to bring focus to the color of the dish and the recipe.
Plan your composition.
The composition of the photo refers to the layout – where the food photographer or food blogger chooses to arrange the plates and bowls to focus attention within the photo and create a visually appealing image.
First you want to decide on the use of positive and negative space. Negative space refers to the background which surrounds the area of work, whereas positive space refers to the subject or areas of interest in the photo. If I have a big salad that I want to take a photo of, I will plate the bowl and use the negative space (by choosing a simple background) to let the dish itself shine. If I’m photographing bowls of soup I may choose to arrange several bowls to draw attention around the photo.
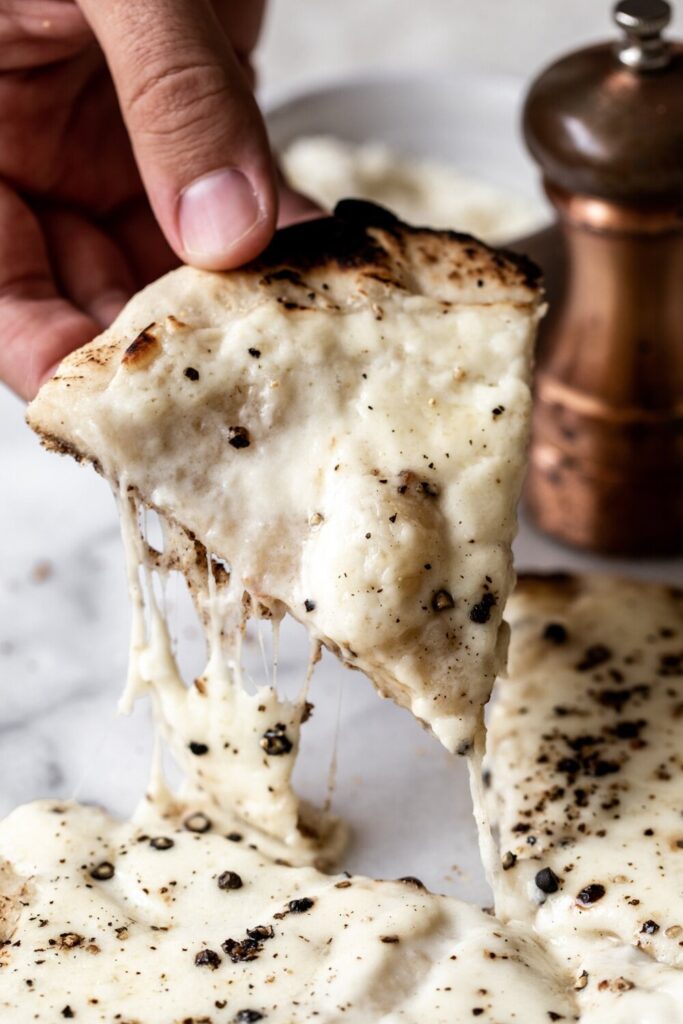
Add utensils to imply movement or a hand to add life to a shot.
Add a fork to a heaping bowl of pasta or spoon inside a bowl of soup to imply that someone will soon take a big bite.
The same goes for showing a hand grabbing a slice of pizza, a cookie from a big stack or holding a dripping cone of ice cream – these artistic choices add life to inanimate objects and will help people relate to the images.
This implied movement can also come from a bit of spilled salt in the corner or an oozing egg yolk. Little touches make a dish look “lived in”.
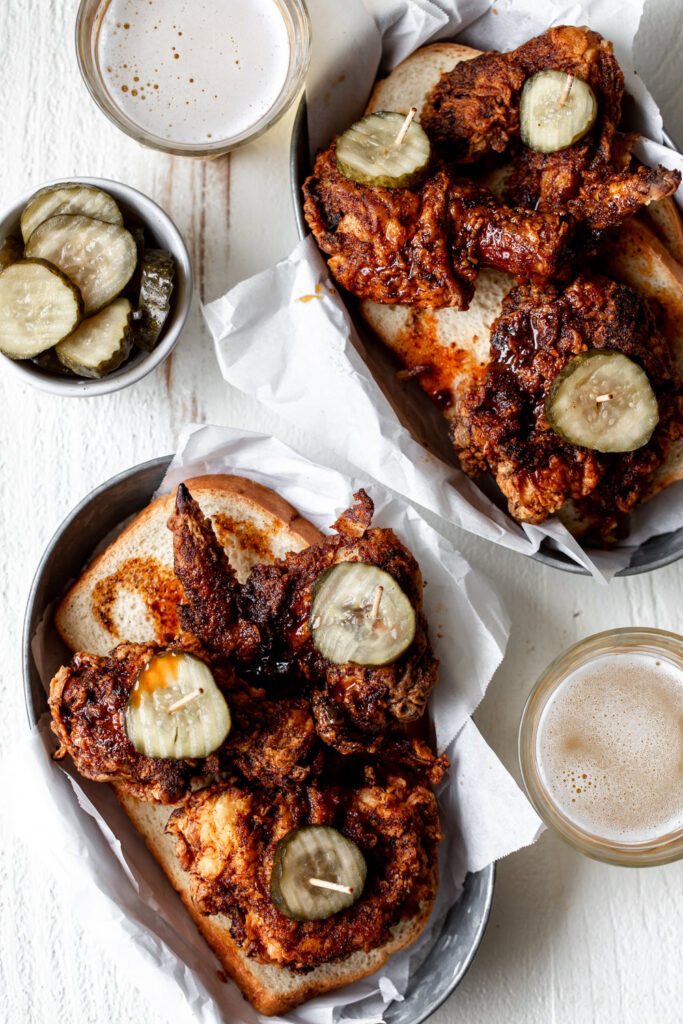
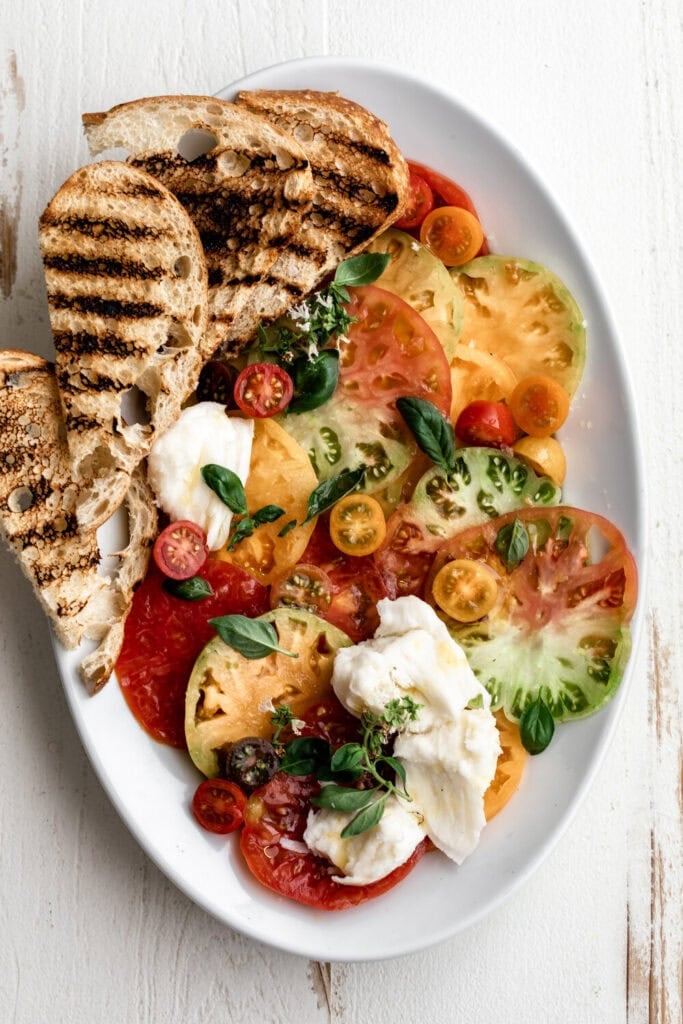
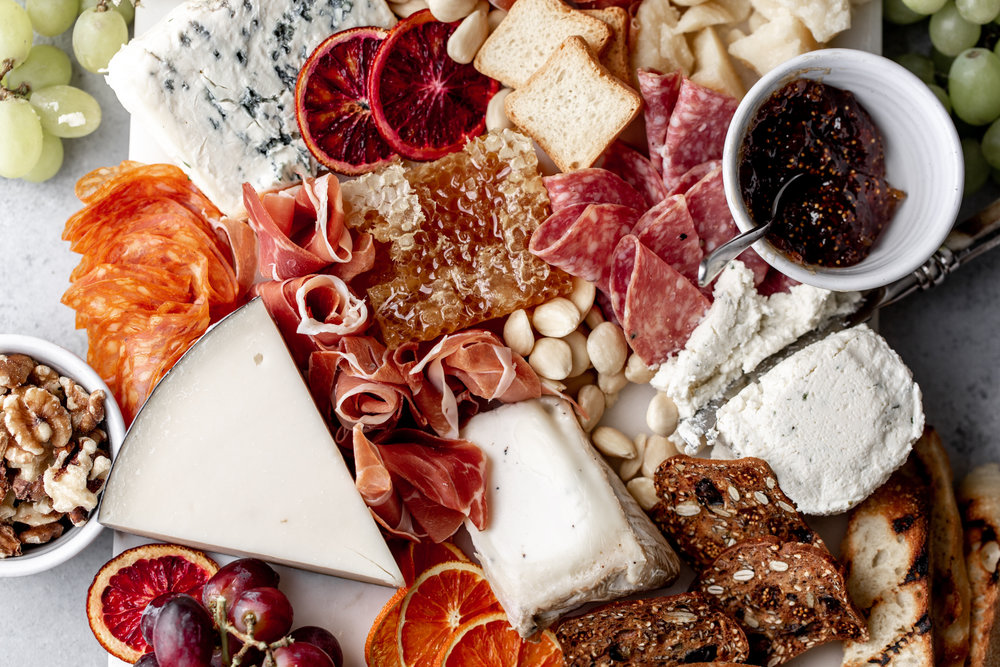
Add layers to an image by adding contrasts.
Adding contrast doesn’t just refer to using dark and light colors to create juxtaposition within an image.
Food photographers use a contrast of smooth and rough elements or soft and rich layers to create depth. Adding these textures is a surefire way to improve your food styling.
Use tweezers!
Use long tweezers to add small garnishes or arrange individual strands of pasta. It helps to get things precise without messing up the rest of the dish or touching it with your fingers.
I will put my garnishes in small bowls so I can easily add them to the dish, just before serving so everything remains fresh.


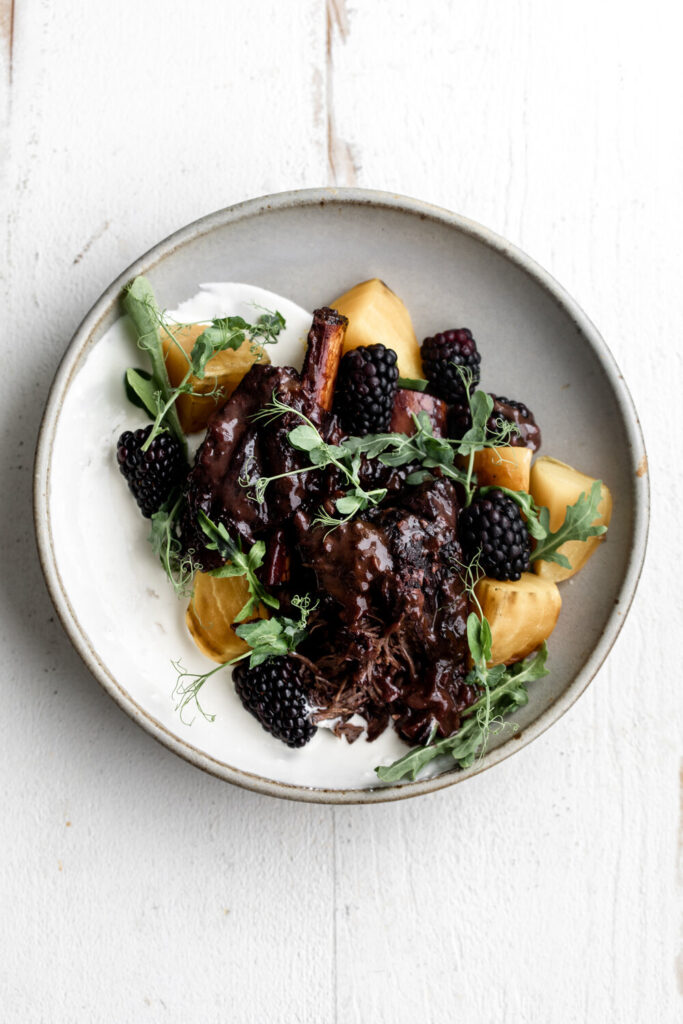
Don’t overcrowd your plate.
Minimalist serving sizes that leave some room on the side so part of the plate or bowl is visible often makes for a great shot. This goes back to the use of negative space – the blank space on the dish acts like an art frame, showing off your work.

My Go-To Step-by-Step Routine For Styling Visually Appealing Food Photos
Step 1:
Evaluate the dish and decide on the style of the photo.
Step 2:
Choose the plate or bowl and plate the food, adding garnishes if needed.
Step 3:
Choose a background and set up next to my light source (typically natural light). I add a bounce light if shooting in direct sunlight to mimic a cloudy day look.
Step 4:
Create layers and contrasts within the scene. Add small bowls arranged around the central focus of the photo, twirled napkins or bits of garnish to “set a scene”.
Step 5:
Decide if I want caught motion or implied motion in the photo. This could be a fork lifting pasta or forks or spoons left in the dishes.
Step 6:
Set camera settings. For a clear, crisp photo I try to select a shutter speed as close as possible to 125 ISO based on the lighting (take a test shot), f/4.5 (aperture) for a medium depth of field, and 1/125 shutter speed. This is just my personal preference! Find what works for you.
Step 7:
Take the photos! I always shoot in raw. A raw format (rather than JPEG) will give you more control over lighting later on because there is more captured information to pull from.
Step 8:
Edit in lightroom.

Backgrounds
Visitors to my apartment frequently inquire where my big marble tables are. In reality, while I do have a big grey marble dining table, most of the backgrounds of my food photos are stored in a closet and used specifically for food photography.
Erickson Surfaces
I love their backgrounds and they are the absolute nicest people! I love their double sided boards. They’re lightweight and easy to store. I have several but the two I use most are the white wood background and the light concrete background.
Marble Pastry Board
I purchased a reasonably priced marble pastry board from Amazon that works as a simple background and isn’t as heavy as so many other marble boards.
Etsy/ Ebay
Both Etsy and Ebay have some great options for boards made with reclaimed wood or by smaller sellers. Be specific in your searches and make sure you check the sizes before committing.
Marble or Granite Yards
One of my favorite marble boards is a leftover piece from a local marble yard in Brooklyn. It’s certainly heavy (I’d recommend getting a piece smaller than 2’ x 3’ if you’re going to lift it yourself or store it. I asked for leftover cuts of marble and chose from them. Since it’s leftover smaller pieces, you can typically pay less than the usual cost per square foot.

Where to Buy Props
Ceramics
I really like using ceramics because they don’t reflect the light as much, causing unwanted reflections and shadows. One of my favorites for this is Sarah Kersten Studio. I use her salad bowls for just about anything in a bowl because they’re so shallow they allow the food to sit nicely and light to hit all of the areas of the bowl. I have one in almost every color. They’re big enough to fit chicken legs or rice bowls. Farmhouse Pottery is another great place to buy pottery and ceramics. They’re based in Vermont and have gorgeous small bowls that I use to hold garnishes on the side of so many images as well as rimmed plates with an unglazed edge and bowls that are unique by letting the food shine.
Plates, Platters, Boards & Silverware
I love turning to homegoods stores like Pottery Barn, Crate + Barrel, Etsy or Target for all sorts of other props used in food photography. Since Pottery Barn and Crate + Barrel can be pricier for good pieces, I recommend keeping an eye out for sales! They have great statement silverware while Target has one-off basic pieces. Etsy is great for more unique vintage pieces like pie tins or reclaimed wood boards. I try to stick with neutral-colored serve ware to let the food shine.
Kitchen Needs
For all other kitchen needs like Staub Dutch ovens, tongs or knives I always turn to stores like Williams Sonoma or Sur la Table. It’s worth it to invest in staples you will use over and over again that will improve your food photos! Both retailers often have sales so it’s worth signing up for email alerts.

Great shots draw people in and make them want what you’ve got! For more information about my photography gear and natural lighting.
Drop any additional questions below!

Rate + Review
WHAT DID YOU THINK OF THIS RECIPE?