
Inside My Camera Bag: Camera Gear and More

My number one tip for food photography is to PRACTICE!! “Practice makes perfect” is a cliche for a reason.
I finally feel like I am at a place where I am confident in my photography and feel like I have established a consistent look and feel with my photos. I did all the photography for my cookbook, Share + Savor which is definitely one of my biggest accomplishments.
This has taken a LONG time and a lot of trial and error. You really have to take the time to experiment and figure out what works best for you. Today I’m sharing all of my favorite camera gear I use for my food photography daily!

Camera Gear
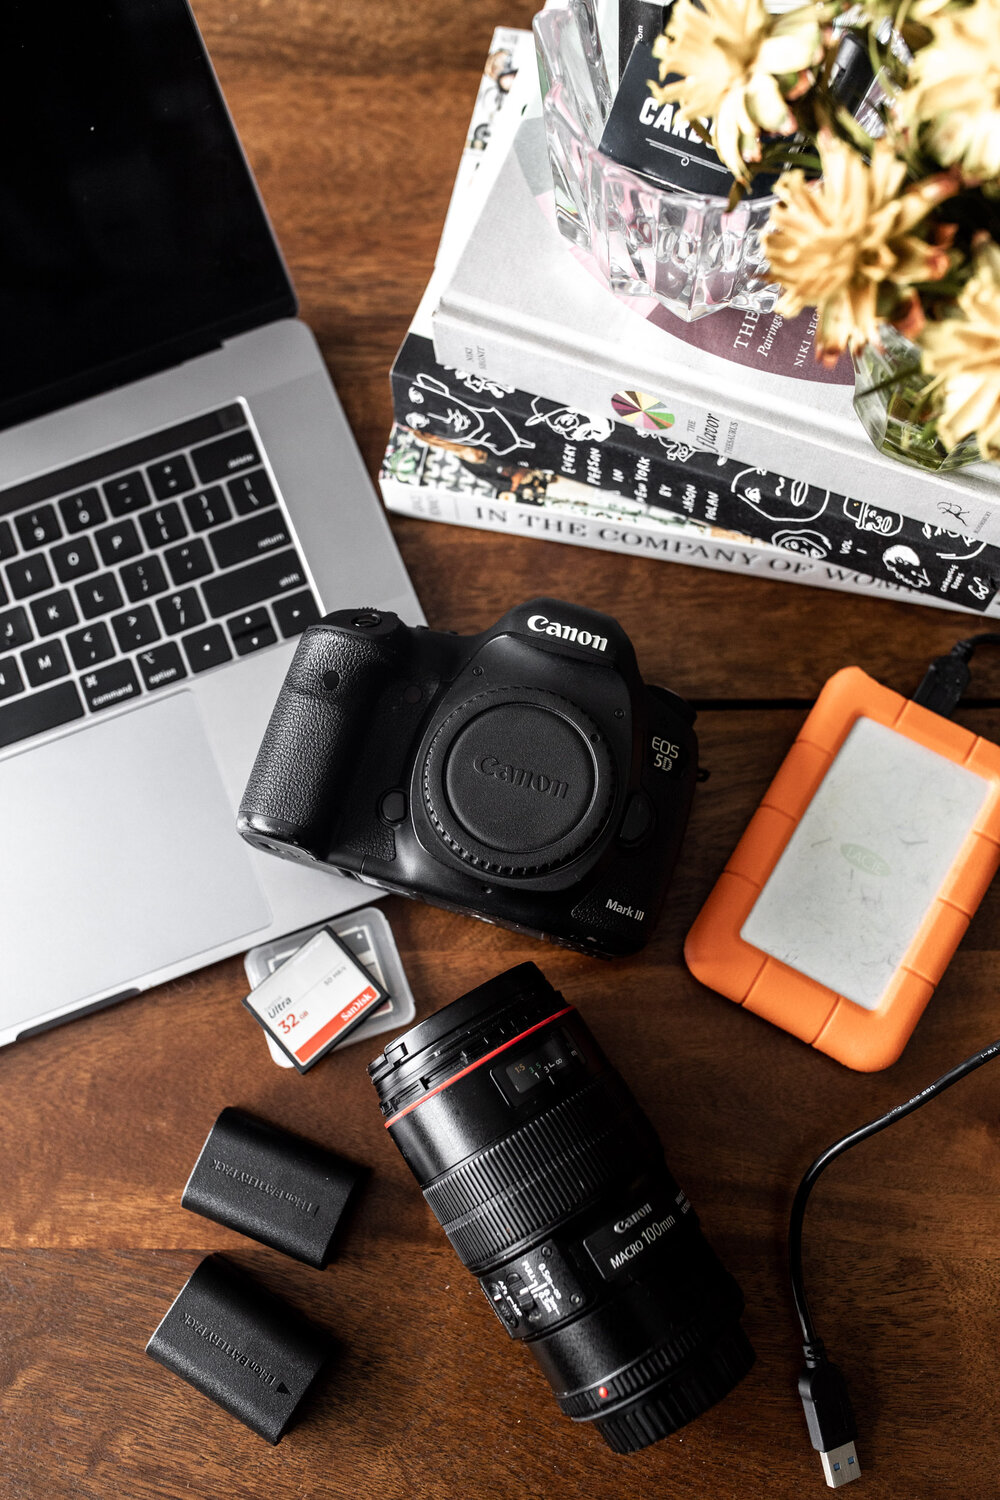
Camera Bodies
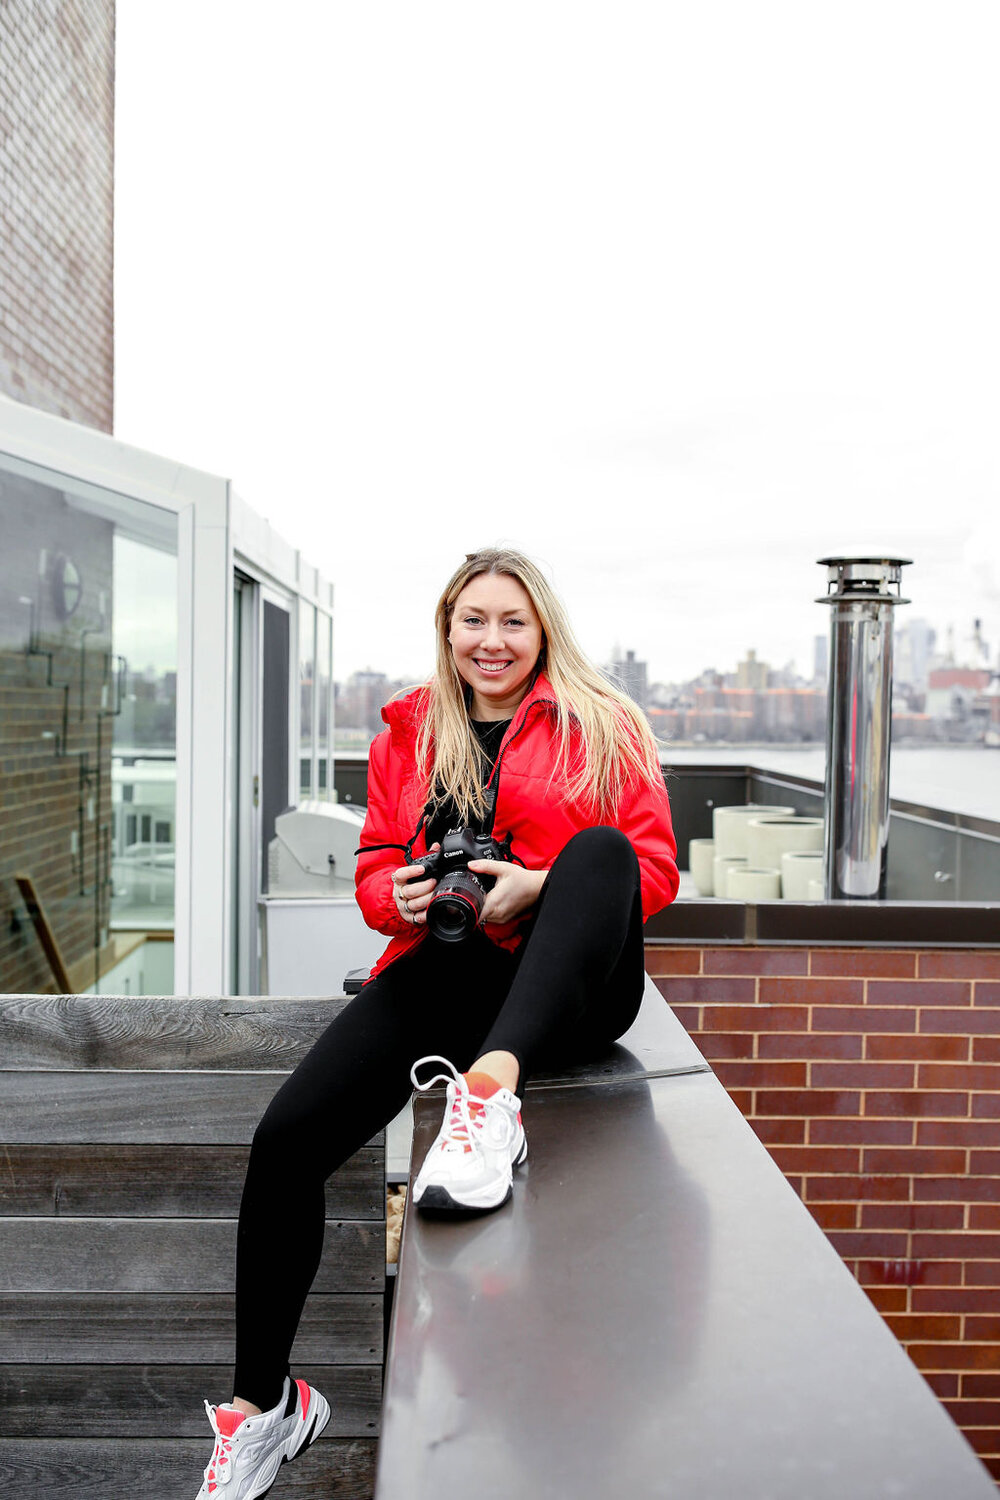
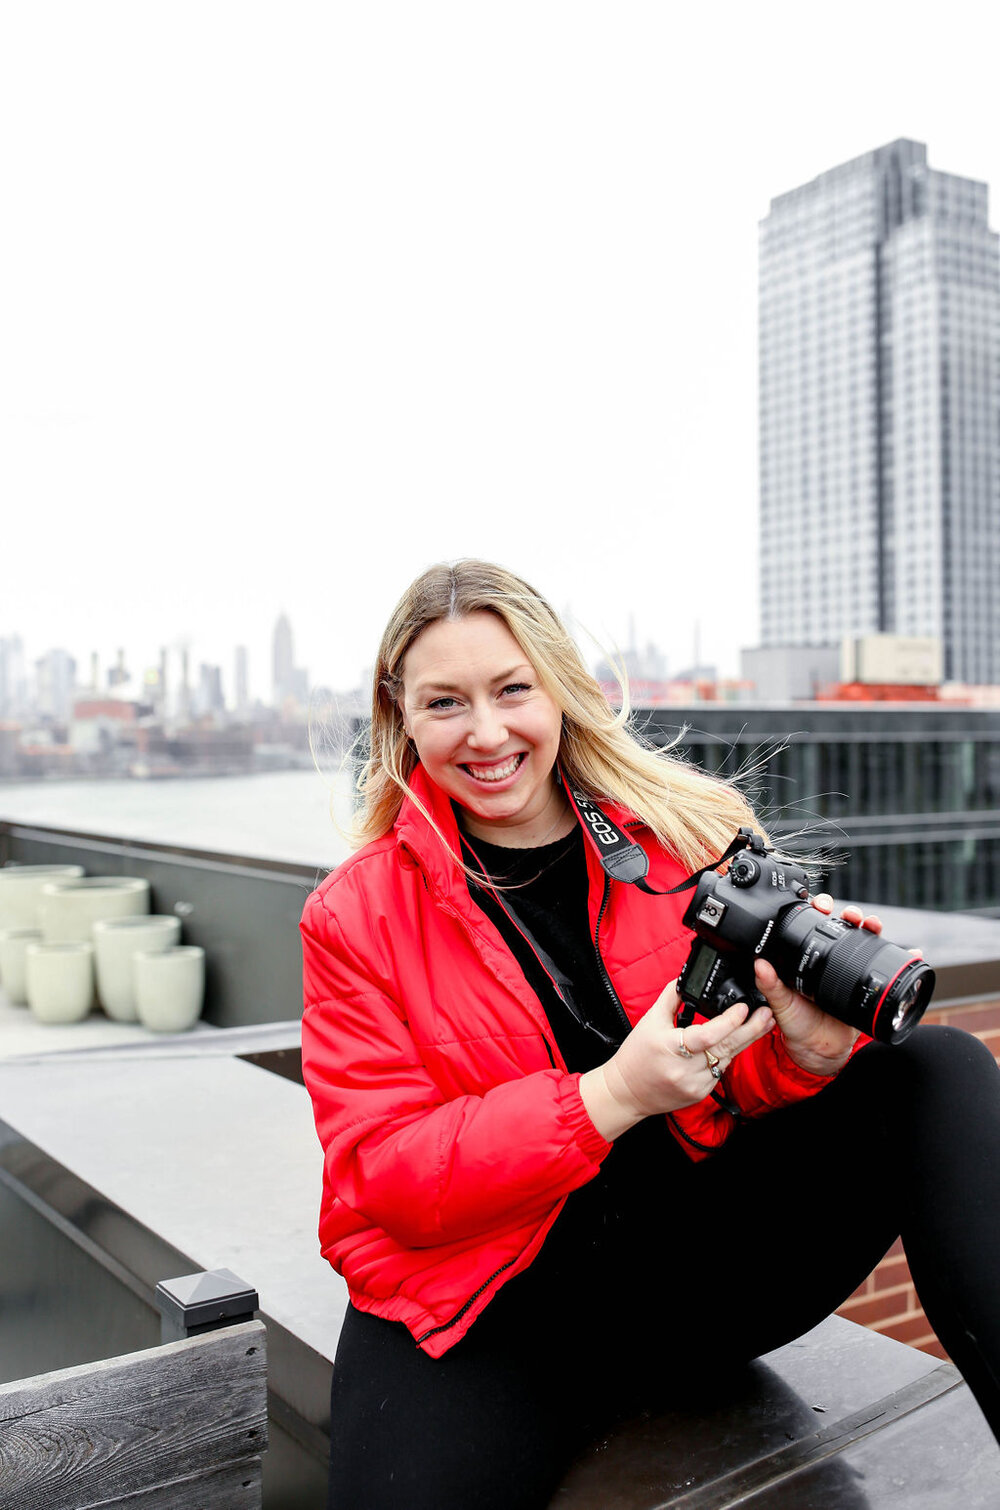
I’m a Canon fan, as it’s just what I’ve always used for my food photography. My mom has always used Canons and my first camera was one of her hand me downs. The first camera I bought for myself was the Canon 5D Mark III – I tragically dropped it early during quarantine in March 2020. I wasn’t going to be able to get it fixed for quite some time so I ended up making the upgrade to the Mark IV and haven’t looked back! I love the fact that it’s wifi enabled so I can edit photos on the go on my phone if needed. The quality is amazing – I think this is the best camera for food photography!

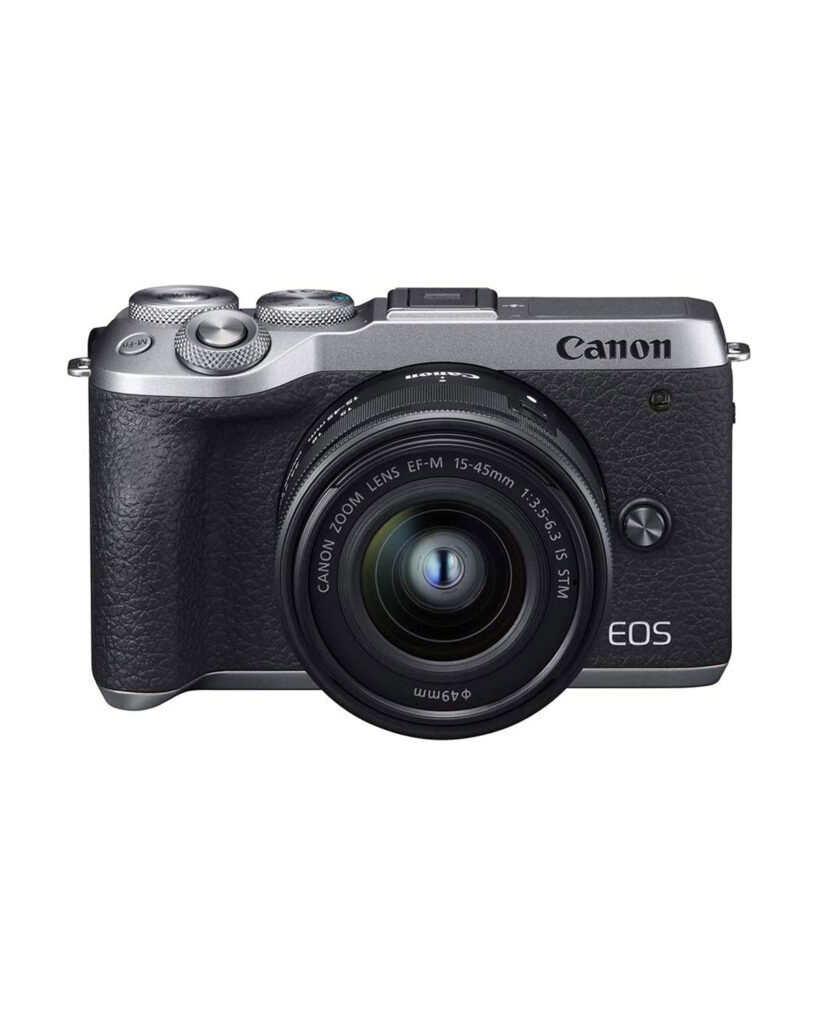
If you’re looking for something that will be easier for travel (it’s very light and compact) and at a lower price point, I really like the M6. This camera has an adapter so my other lenses will work on it. The mirrorless camera allows you to preview the shot on the screen so it’s great for shooting table spreads.
Camera Lenses
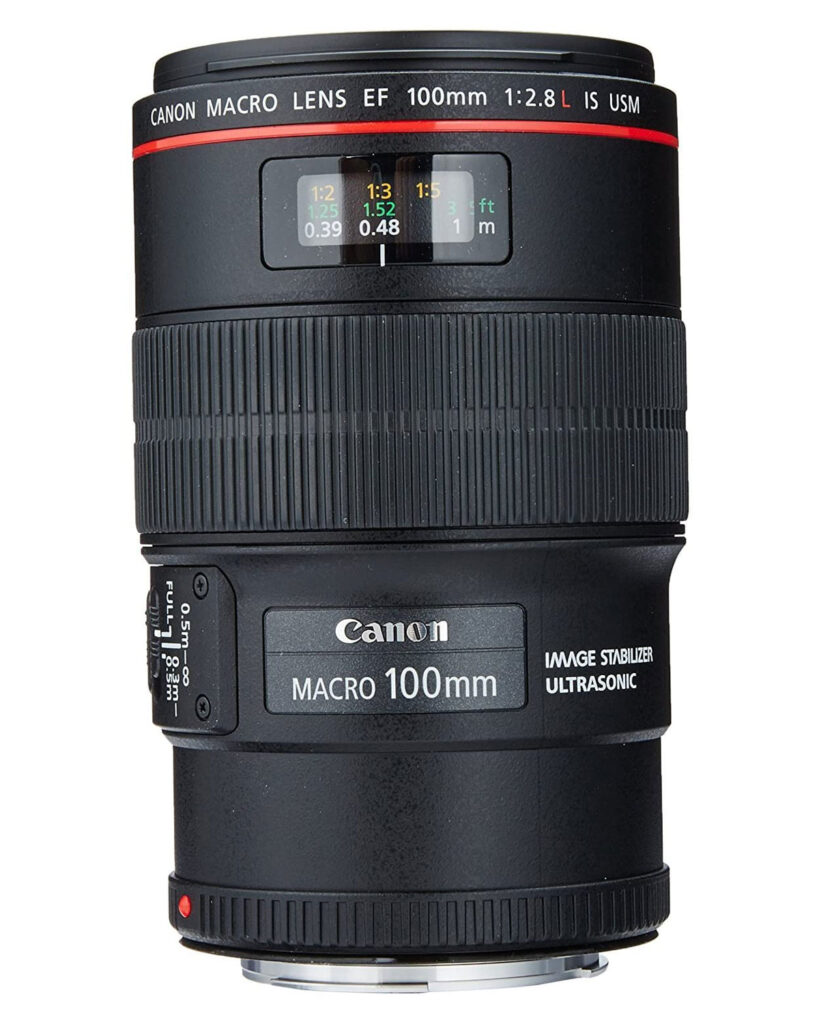
Canon EF 100mm f/2.8L Macro Lens
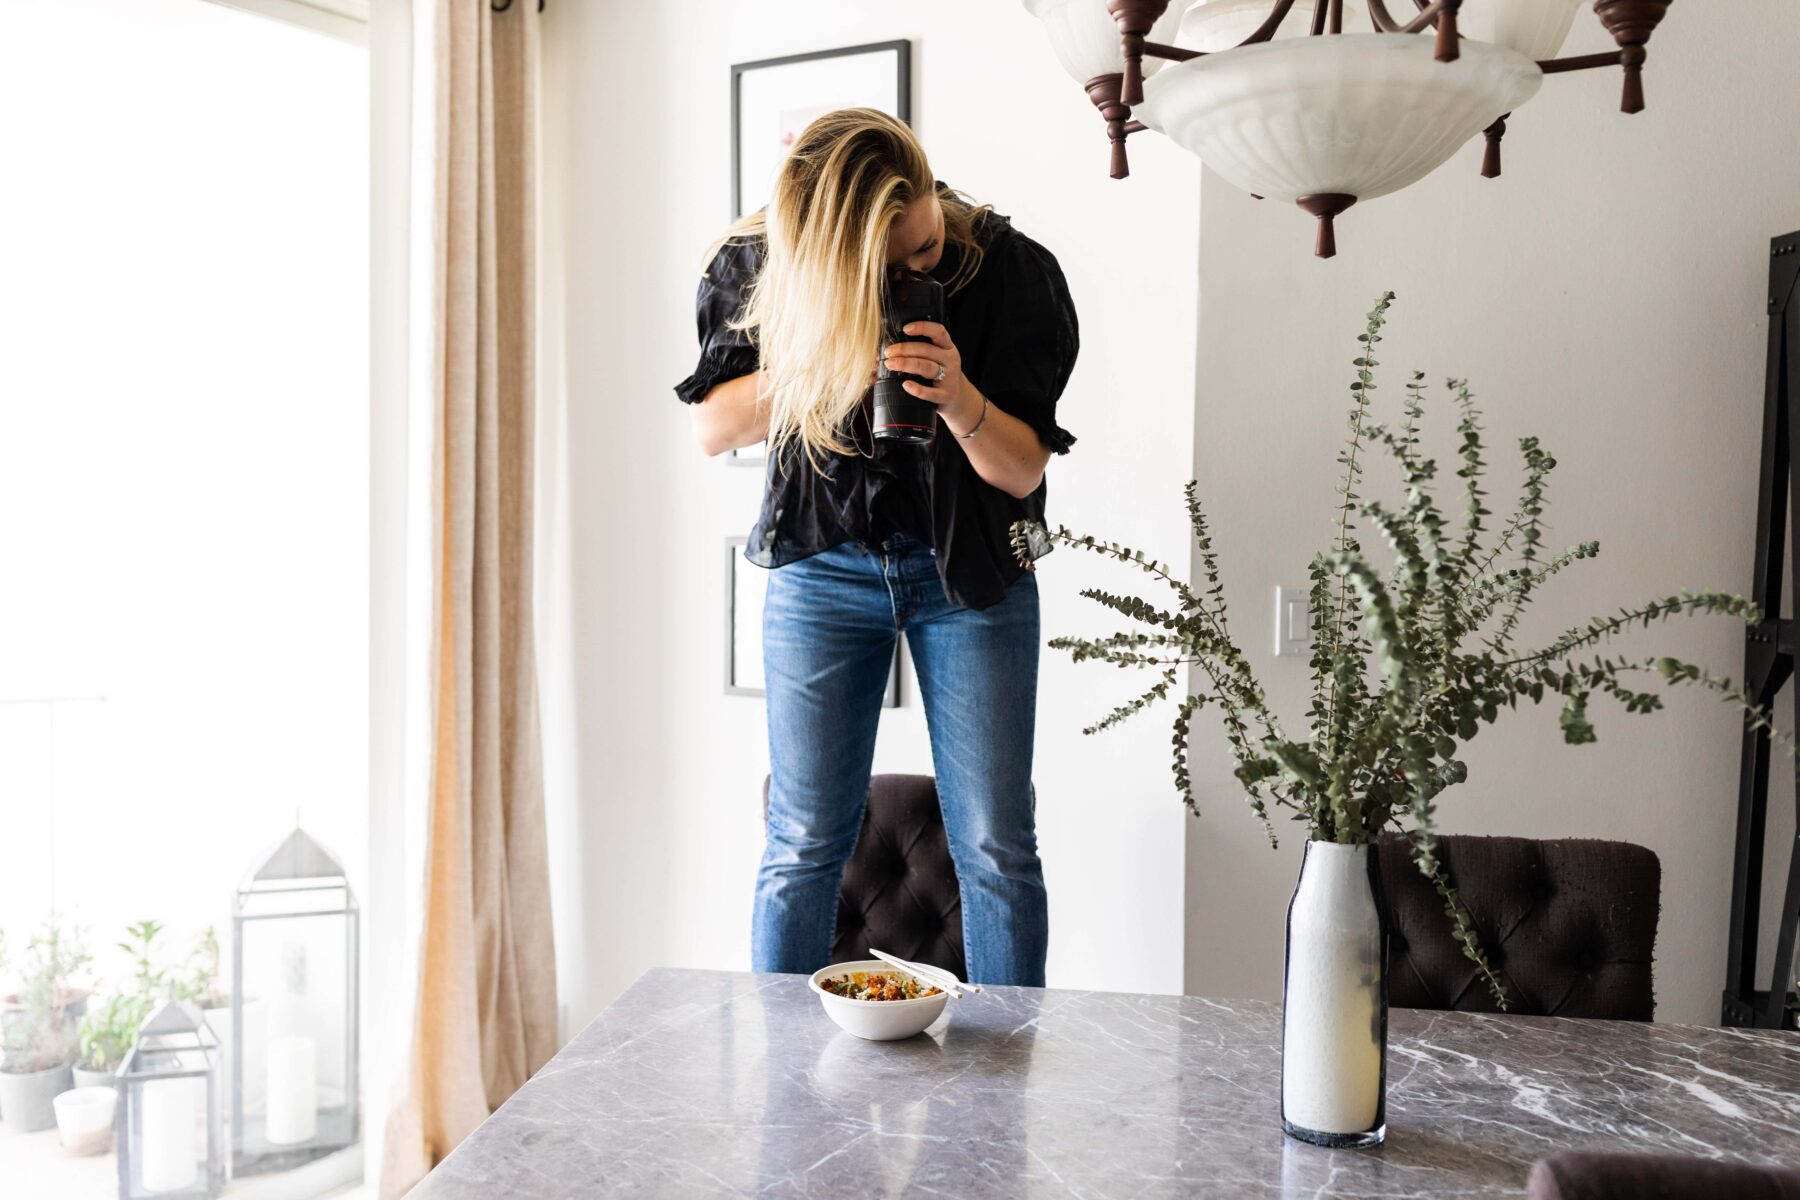
I mostly use this lens for shooting at home when I can control the environment. I think that this is the absolute best for super sharp images and catches all the little details of the food.
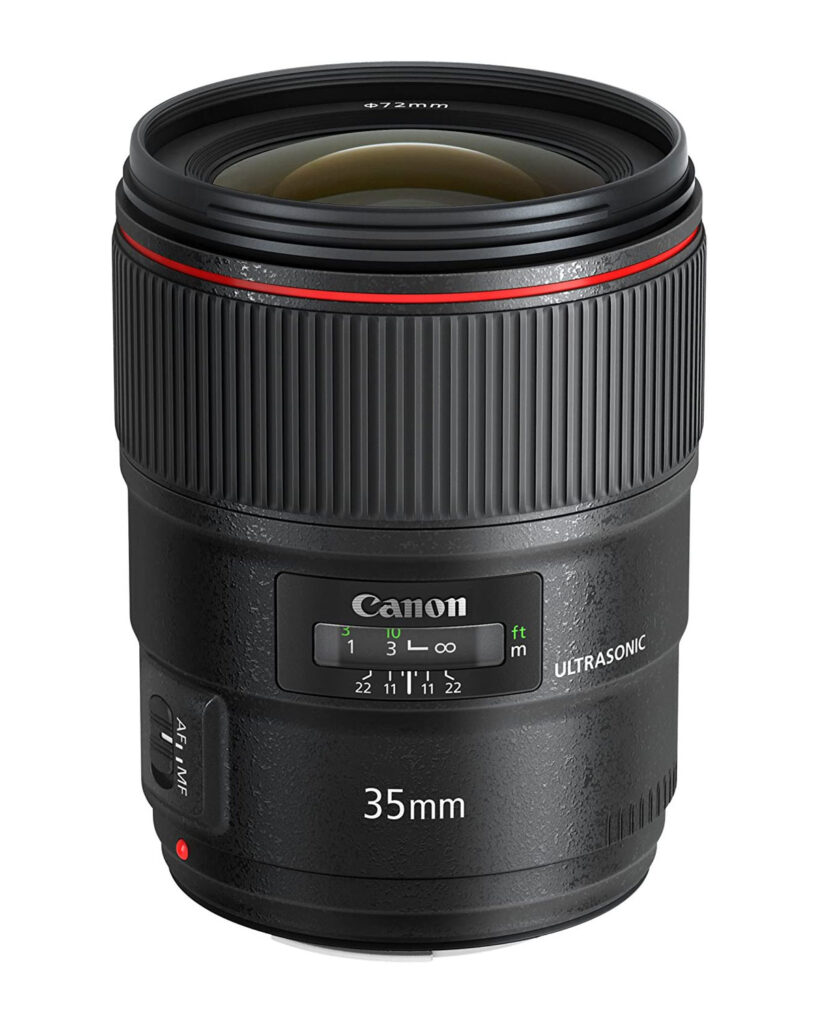
I love this lens for travel and lifestyle photography as well as overhead tablescapes. In my opinion it’s fairly interchangeable with the 50mm lens which many people are a fan of, especially for portrait photography (“the nifty fifty” as it’s known).
Tripods
This is a substantial financial investment, but it’s worth it as it’s a solid tripod that’s flexible, enabling you to get all the different angles you need. This tripod is especially handy when filming videos! I can manipulate it to various angles without fear it will tip over with my camera on it.
This 60-inch tripod is extremely lightweight so I bring this when I travel. It’s also a great inexpensive option if you’re looking for a tripod that gets the job done without breaking the bank.
This small tripod is great for Instagram Lives or filming stories while cooking hands free.
Additional Gear
I do all my editing on my 16-inch Apple laptop. It’s easy for me to use the trackpad for edits, though many people prefer a desktop (I don’t have the room at the moment in my apartment in Brooklyn).
On really sunny days I use this to diffuse the direct sunlight. It actually does a great job mimicking the lighting on overcast days.
Back up everything! Let me say this again – BACK UP YOUR COMPUTER AND PHOTOS! I have made the mistake of going too far between backups and have ended up losing weeks worth of photos due to computer issues.
I stood on enough unsteady chairs and boxes so I finally caved and bought a ladder. From a safety perspective I would highly recommend purchasing a ladder if you have the storage space. Not only can I reach the high shelves in my kitchen but it’s great for shooting top down shots from higher up.
I have a professional dropbox account which provides me enough storage to also back up my photos to the cloud account. I like having my photos on the cloud because they are easily accessible from anywhere – I can pull them up on my phone on the go or at home on my computer. It’s also an efficient way to send content to clients or collaborate with others.
Lighting
Natural Light
The majority of the time I shoot with natural lighting, as it’s just what I’m most comfortable with. The best weather for photos is when it’s grey and overcast outside – people think I’m insane when I hope for clouds! It really makes all the difference – it helps to reflect light and make food almost pop out of the frame.
I have started using artificial lighting for videos so that I have a more consistent color and light between frames. The following is the artificial lighting I have been using – a far as lighting goes it is on the more affordable side.
Artificial Lighting
While many photo lights can run around $1000, this one is only $130, a bargain. The brightness and temperature can easily be adjusted. The lighting is good for a small area, it’s only 60 watts, but it does the trick.
This is an inexpensive stand for holding the light.
This softbox helps to diffuse and soften the artificial lights to give a more natural look.
Editing
I pay a monthly subscription for Adobe’s Creative Suite which includes Lightroom, Photoshop and Premiere Rush. These apps are cloud based so it’s easy to login and download the software to different devices.
I use Adobe Lightroom for all my photo editing needs and use Photoshop to touch up some things up if needed. Lightroom is preferred because you have the ability to batch edit (copy and paste editing styles to a set of photographs). You can also save presets to use for quick editing. If you’re looking for some presets as a baseline I’d recommend the light & bright ones here.
The application gives much more control so Photoshop is great for specific edits or retouching. Frequently I make major edits in Lightroom, then open the image in Photoshop to tweak anything else.
Premiere Rush & Premiere Pro (Video)
I think Adobe Premiere Rush is great video editing software for beginner to intermediate users. It’s easy to produce videos on the go or for social media like Instagram Reels or TikToks. Adobe Premiere Pro is an all-in-one tool that offers a more extensive library, more tools and more control with video formatting but it comes at a more expensive monthly price point.
Online Courses
The Artificial Academy course was created by Joanie Simon from The Bite Shot to teach people how to use artificial lighting to create natural looking food images. As I have started to get into more videography, I felt I needed to be more comfortable using artificial lighting so that I had a consistent light source in my videos.
Joanie’s extensive course is easy to understand and covers the best setups to purchase for your needs at multiple price points and how to use the lighting in an engaging manner.
FAQ – Frequently Asked Questions
Canon 5D Mark IV
For food the 100mm Macro is my favorite because the detail is insane!
I’ve been running Cooking with Cocktail Rings for almost 6 years now! Prior to that I took a photography class in high school and graphic design class in college. Other than that I’m self taught and can’t recommend online classes and doing research on Youtube enough!
For the most part I use all natural light (I am starting to use artificial lighting more, especially for videos). The best lighting for photography is grey, overcast light! I think I’m one of the only people who loves cloudy days!
Check out my guide for styling food photos here! Please drop any additional photography questions in the comment section below and I will try my best to answer!
Rate + Review
WHAT DID YOU THINK OF THIS RECIPE?