
Cheesy Potato Pierogi (Pierogi Ruskie)
jump toRECIPE
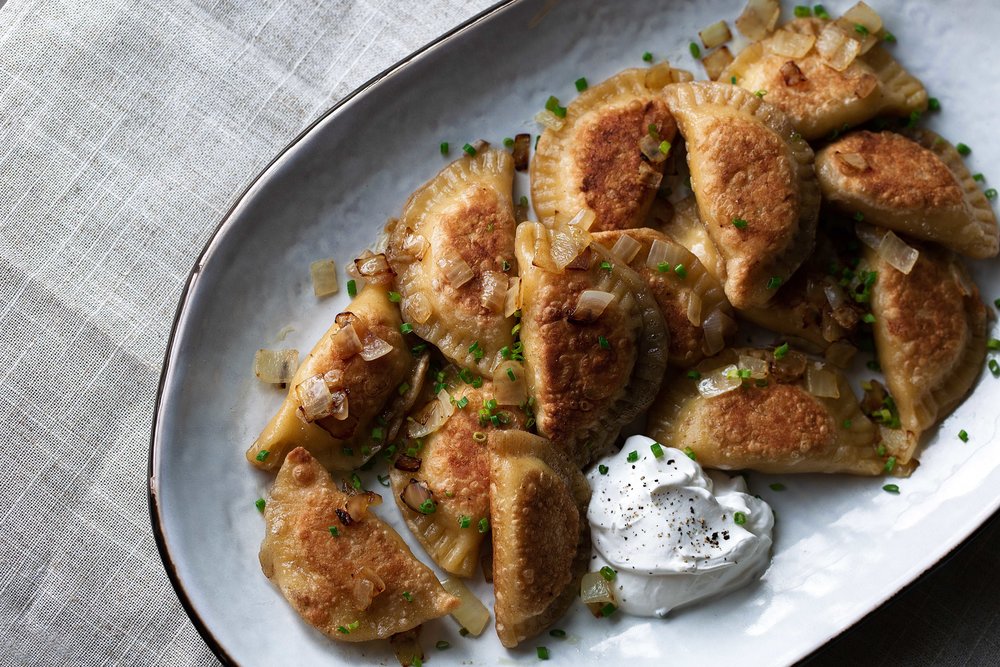
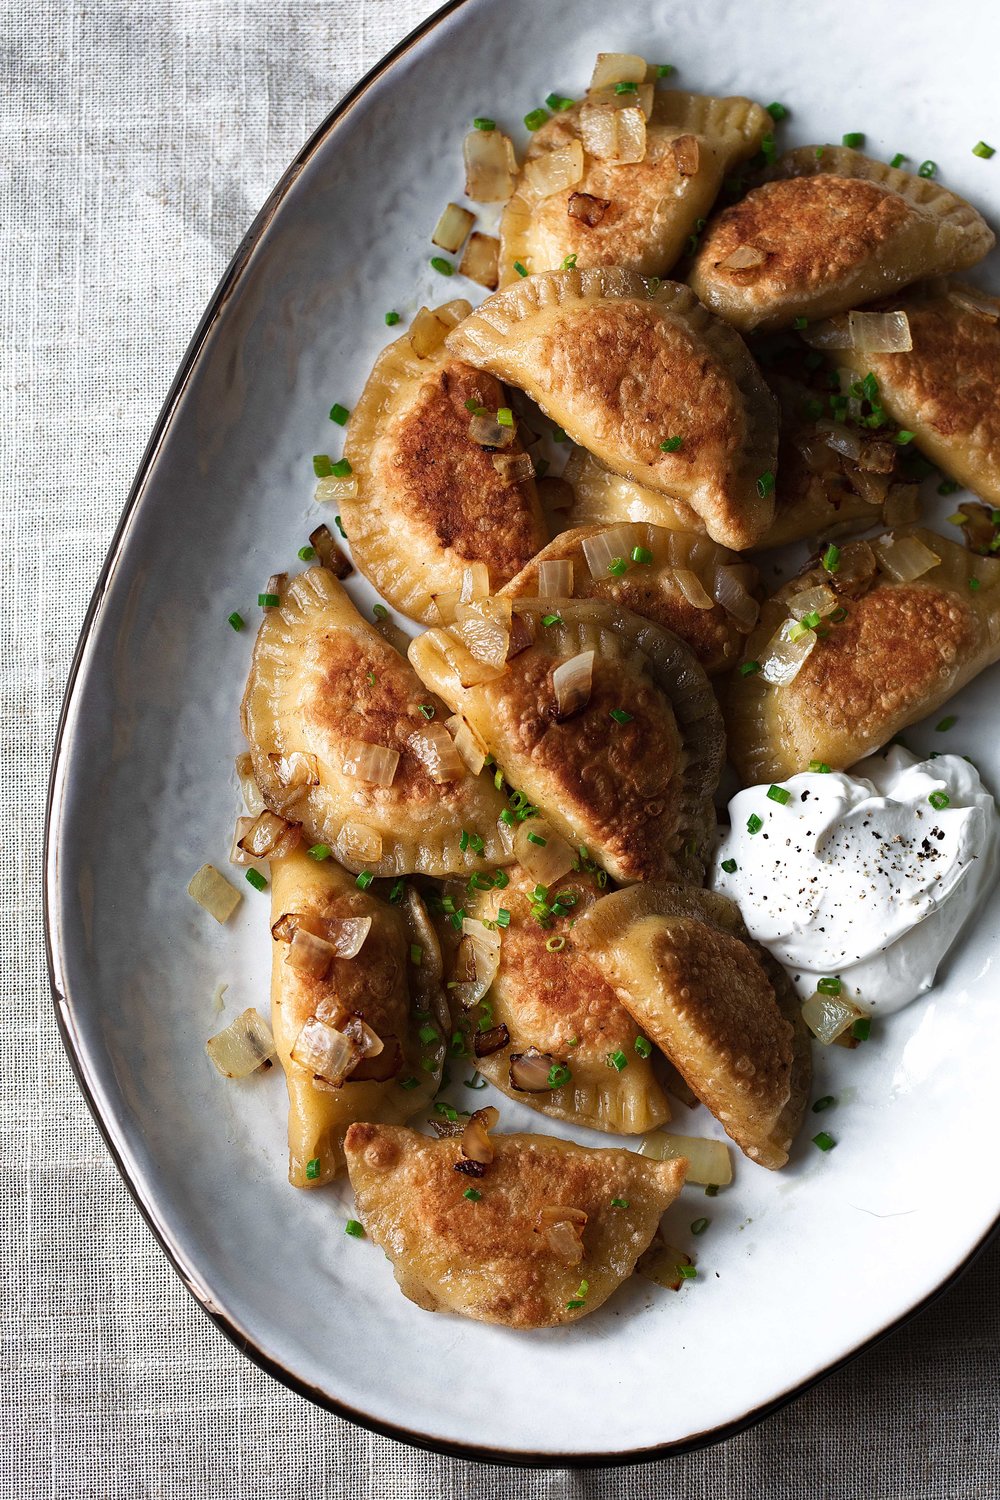
This recipe is for classic potato pierogi, also known as pierogi ruskie. While the traditional filling is made with a mild cheese like farmer’s cheese or cottage cheese, I use Cheddar for a slightly richer, more familiar flavor. The pierogi are boiled until tender, then crisped in a skillet just before serving and finished with sour cream, sautéed onions, and fresh chives.
With Polish roots on my dad’s side of the family, pierogi have always been close to our hearts and this is one of his all-time favorite dishes. I love making them for him as a cozy winter surprise, especially when comfort food is most welcome.
Why You’ll Love These Potato and Cheese Pierogi
- Classic comfort food. Tender potato-filled pierogi with a crisp, golden exterior are cozy, satisfying, and timeless.
- Traditional with a twist. Cheddar adds a slightly richer flavor while still honoring the spirit of classic pierogi ruskie.
What Are Pierogi
Pierogi are like a polish ravioli made with sour cream-based dough and classically stuffed with a cheesy potato mixture. They are also similar to Russian vareniki.
The sour cream-based dough is easy to work with, as making, it rolling it out and filling the dumplings is a simple though time-consuming task. Pierogi are classically filed with potato and/or cheese, sauerkraut, cabbage, mushrooms or ground meat. Potato Ruskie which originate in the Kresy region (borderlands) of Poland are the most popular variety made with mashed potatoes and farmers cheese (which I swap for Cheddar).
fun fact
The plural of pierogi is still pierogi not pierogis.
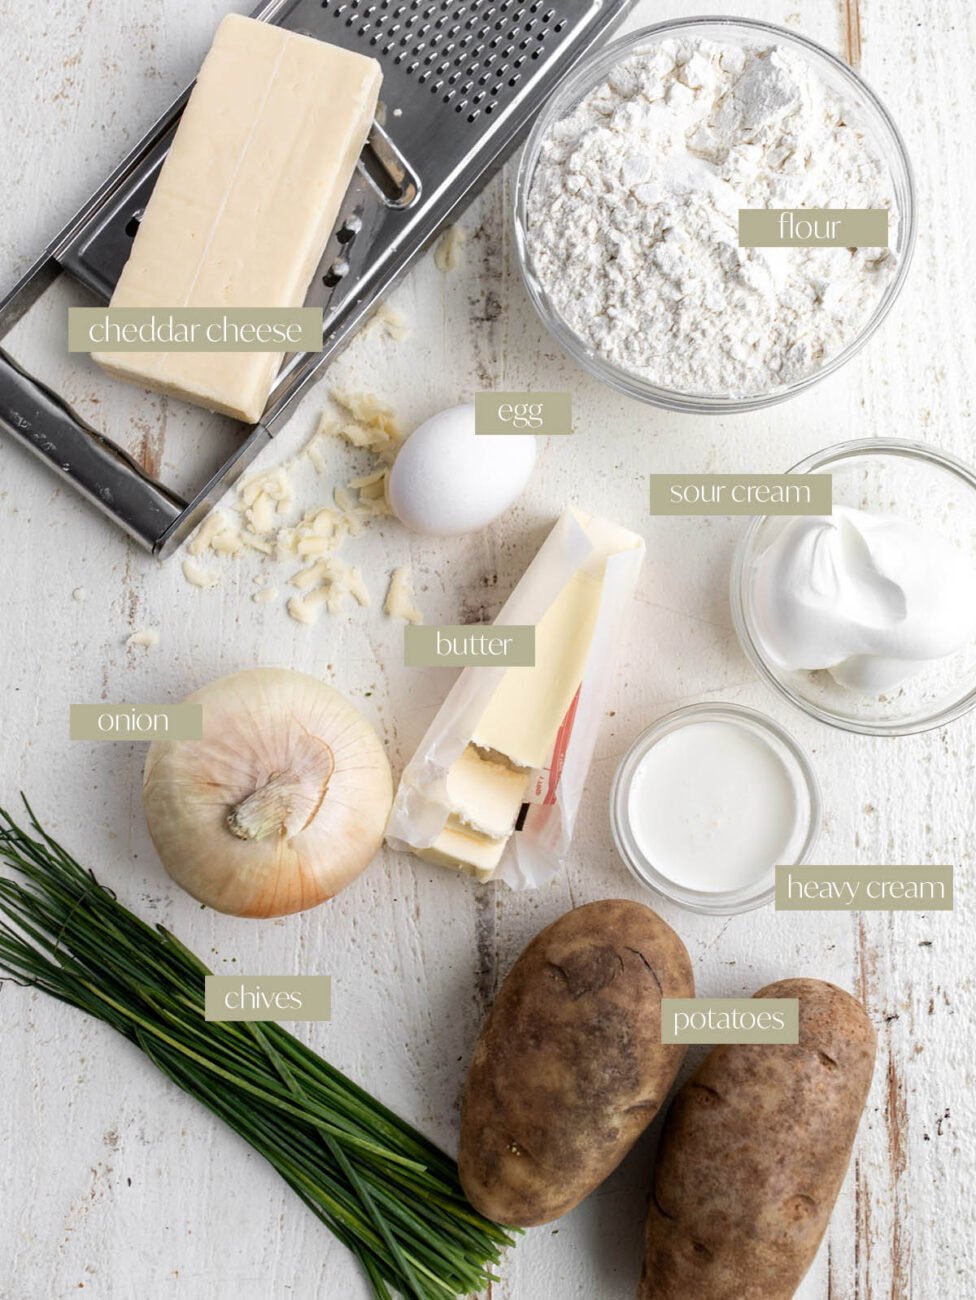
Key Ingredients in Pierogi
- Potato – In this recipe I use Russet potatoes, also known as Idaho potatoes. They’re large, starchy, oblong potatoes known for being the ideal baking potato. When boiled and mashed they become soft and light.
- Cheddar – Always use sharp Cheddar when cooking. If you use mild or medium Cheddar the flavor will cook out and the recipe will be lacking in that cheesy flavor. There is no difference in flavor between white and yellow Cheddar cheeses. The yellow variety included annatto to create the yellow color.
- Onion – I use yellow onion in this recipe for its mellow flavor when cooked. These onions with a brownish yellow papery skin are a great all-purpose cooking onion.
A full ingredient list with exact amounts can be found in the recipe card below.
Swaps and Substitutions.
- Get creative with other fillings: Try adding mushrooms to the mashed potato filling or minced, cooked meat to the pierogi recipe for a twist.
- Just boil: The pierogi can be served boiled or go one step further as I have here and crisp them in a pan. I like the added texture of pan-frying them.
- Onions: Yellow onions are classic, but sweet onions or shallots can be used for a milder, sweeter flavor.
- Butter: Swap butter for olive oil when pan-frying if needed, though butter adds the most flavor and browning.
Making Pierogi Ahead of Time
Pierogi can be assembled and refrigerated for up to 24 hours before cooking.
How to Make Potato and Cheese Pierogi (Step-by-step)
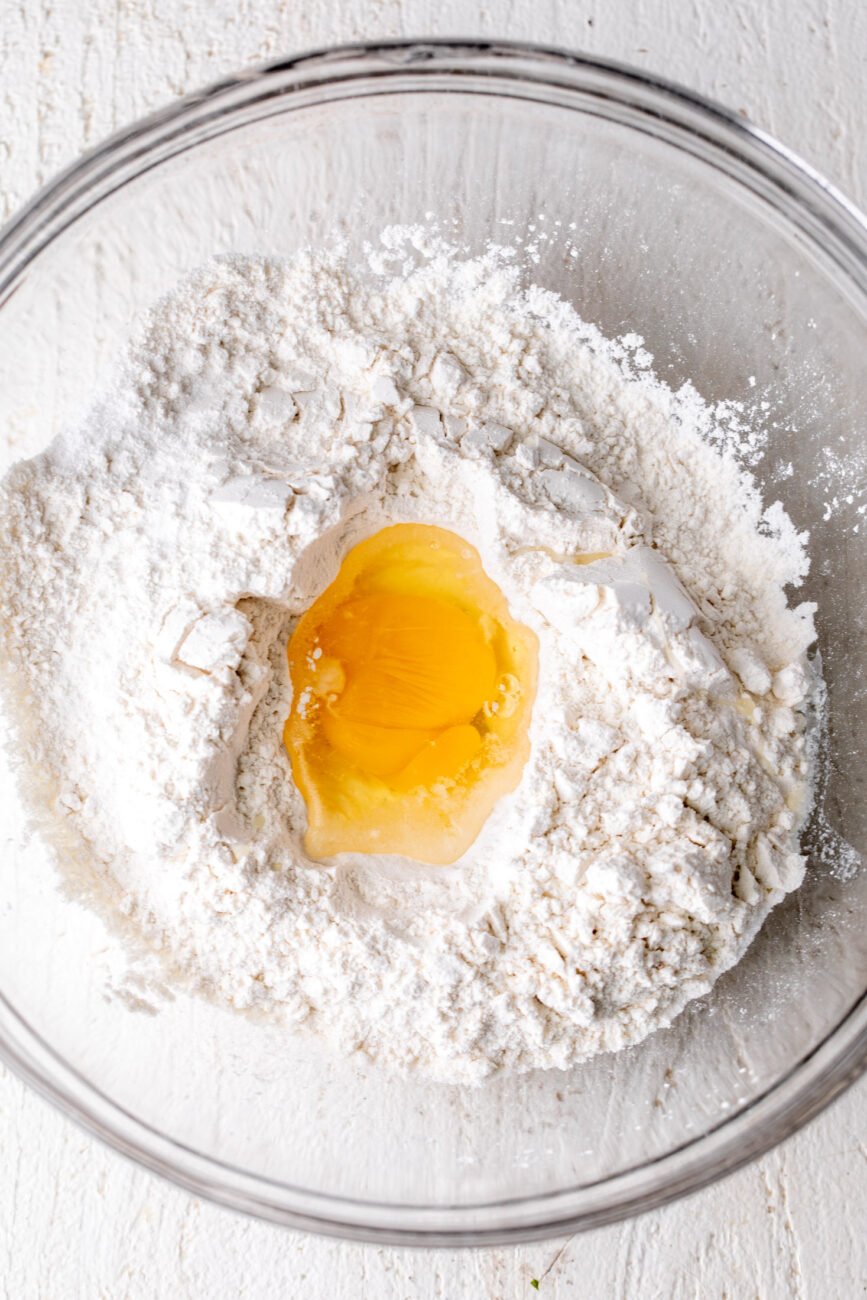
In the bowl of a stand mixer combine the flour and salt, making a well in the middle. Add the egg and mix on low speed until just combined. Add the sour cream and butter and mix until fully incorporated, about 3 minutes.
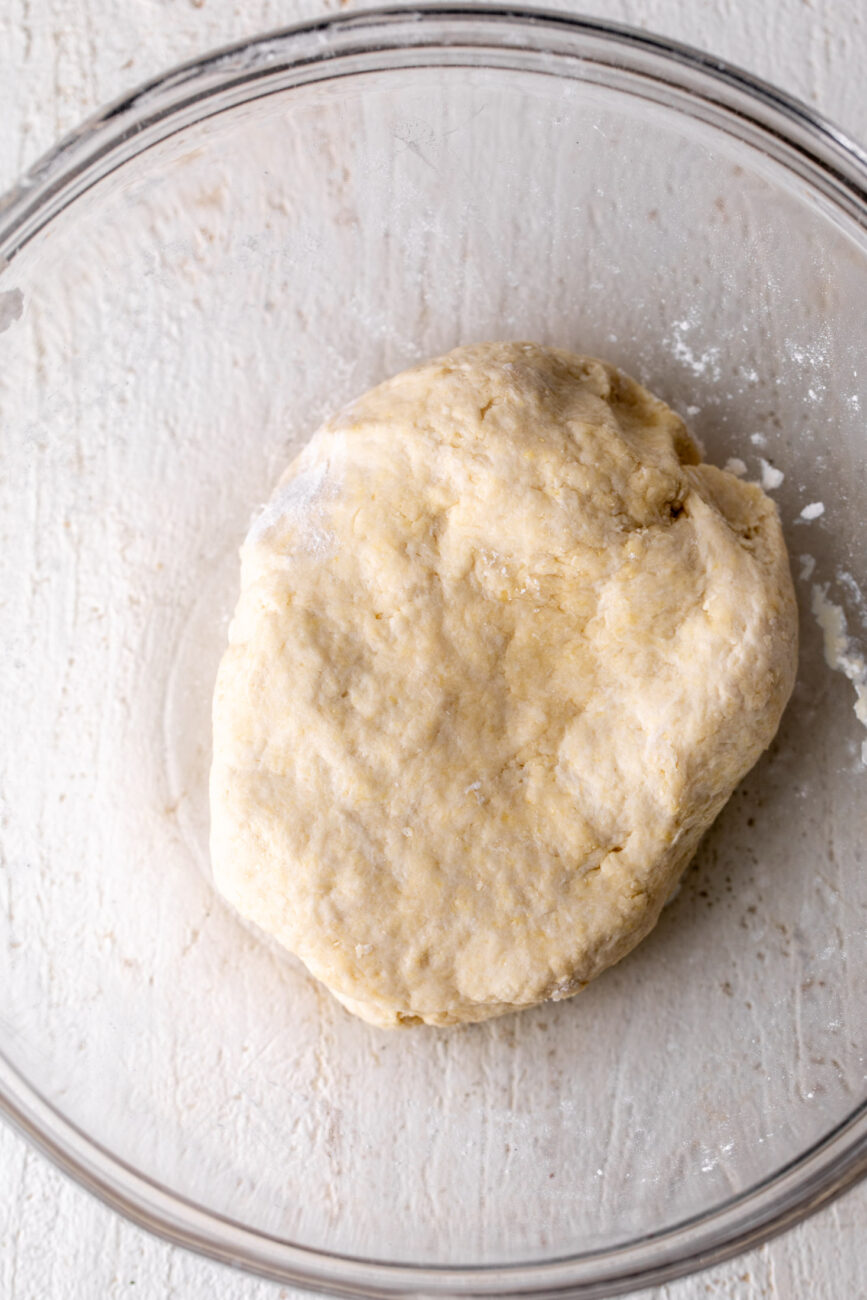
Turn the dough out onto a clean, lightly floured workspace and knead until smooth, about 1 minute. Wrap the dough in plastic wrap and refrigerate for 1 hour.
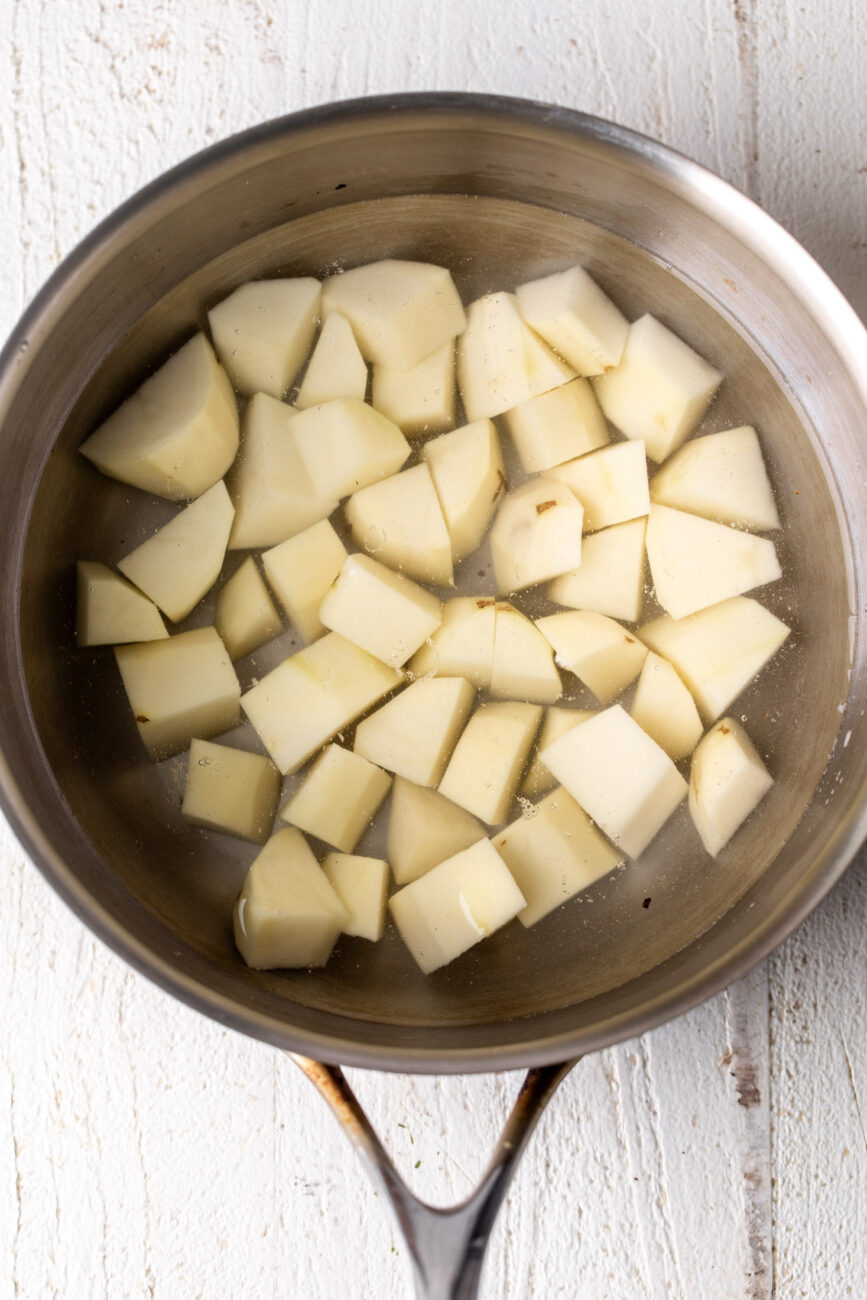
In a large pot over medium-high heat, bring water to a rolling boil. Cook the potatoes until they are tender, stirring occasionally, about 20 minutes. Drain the potatoes completely. Add the potatoes to the bowl of a standing mixer or a large bowl if using a handheld mixer.
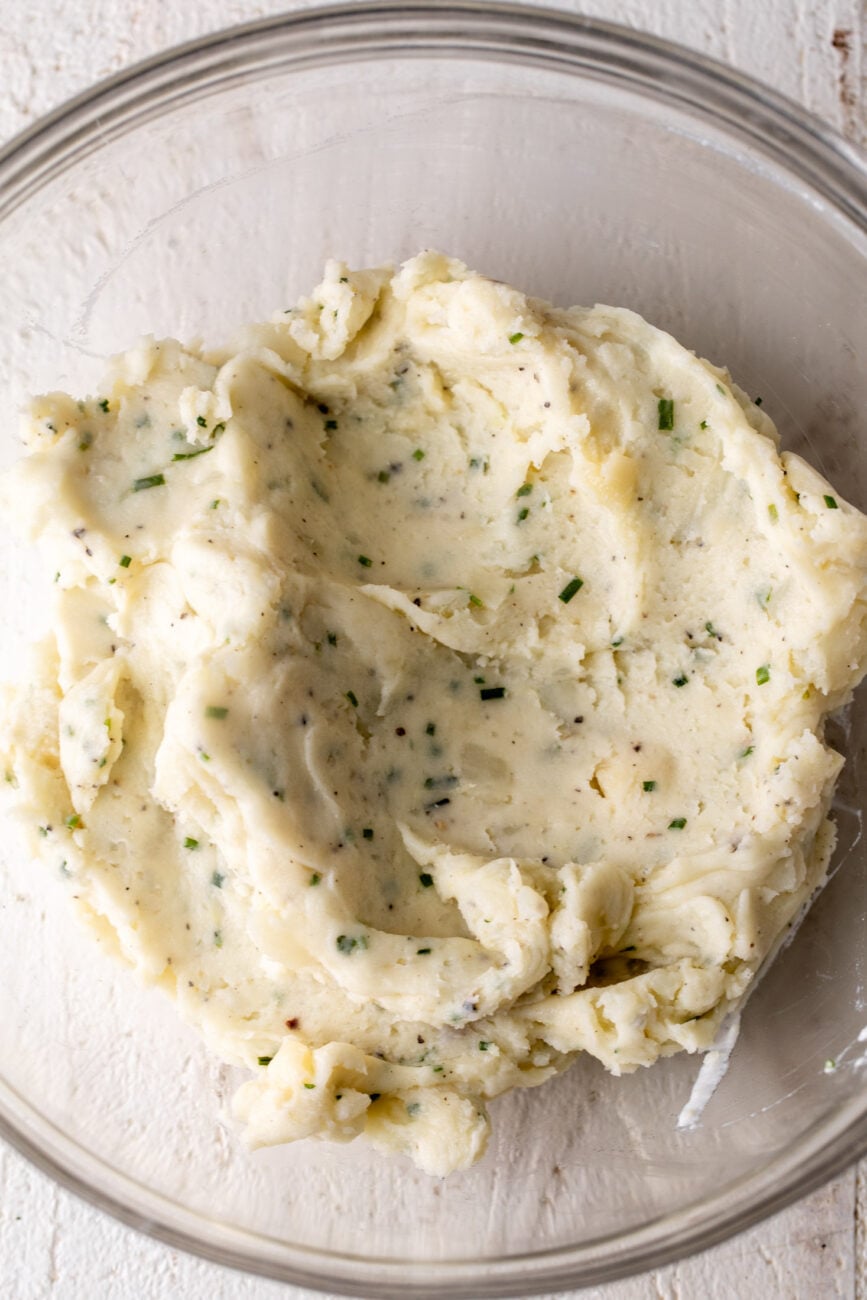
Add the cream and cheese, mixing on medium speed until smooth, about 2 minutes. Add the chives and season with salt and pepper, stirring to combine.
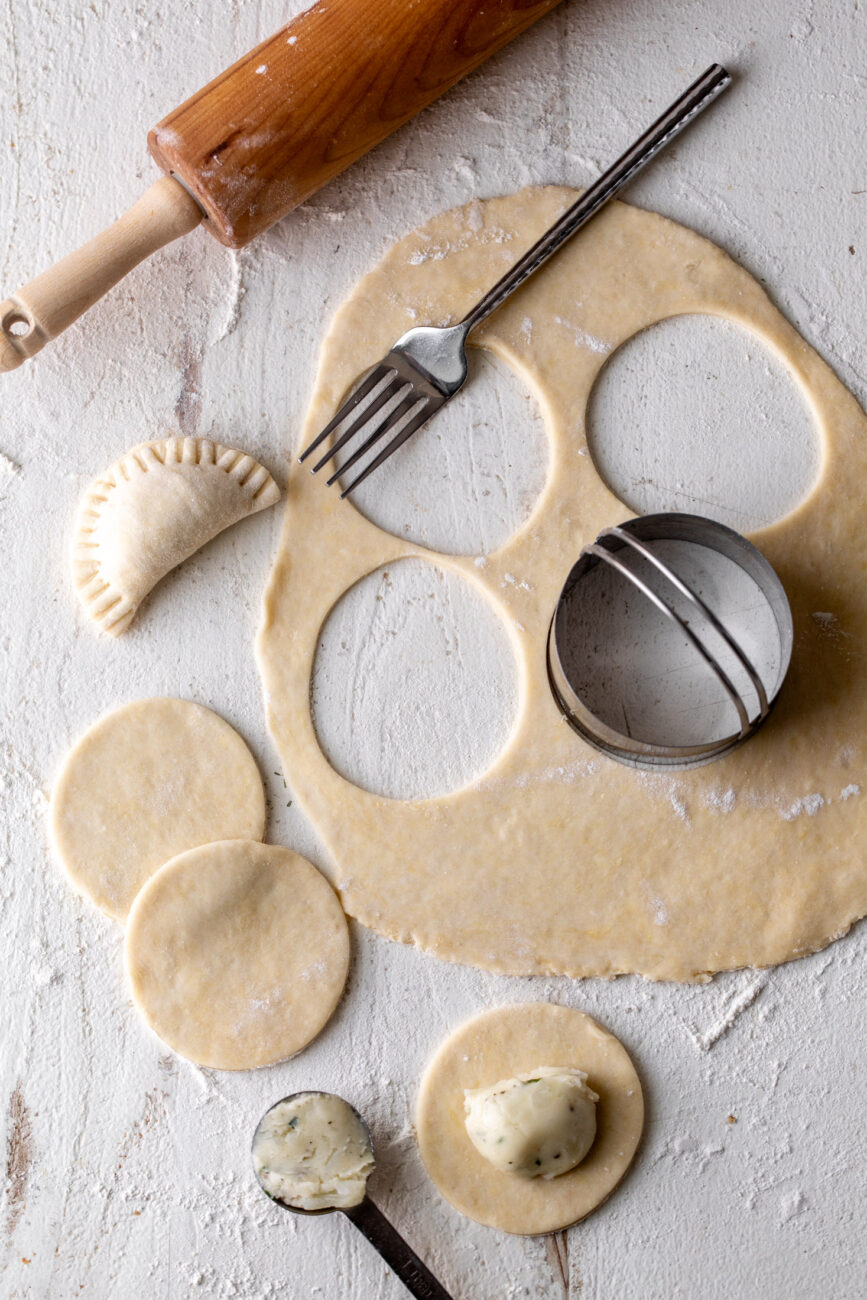
On a clean lightly floured work surface roll the dough out 1/8-inch thick. Use a 3½ -inch circular cookie cutter to cut the dough. Working one at a time, fill each circle with about 1 tablespoon of the filling. Fold the edges around the filling in a half-moon and press with your fingers to seal shut. Use a fork to help seal them and create decorative edges.
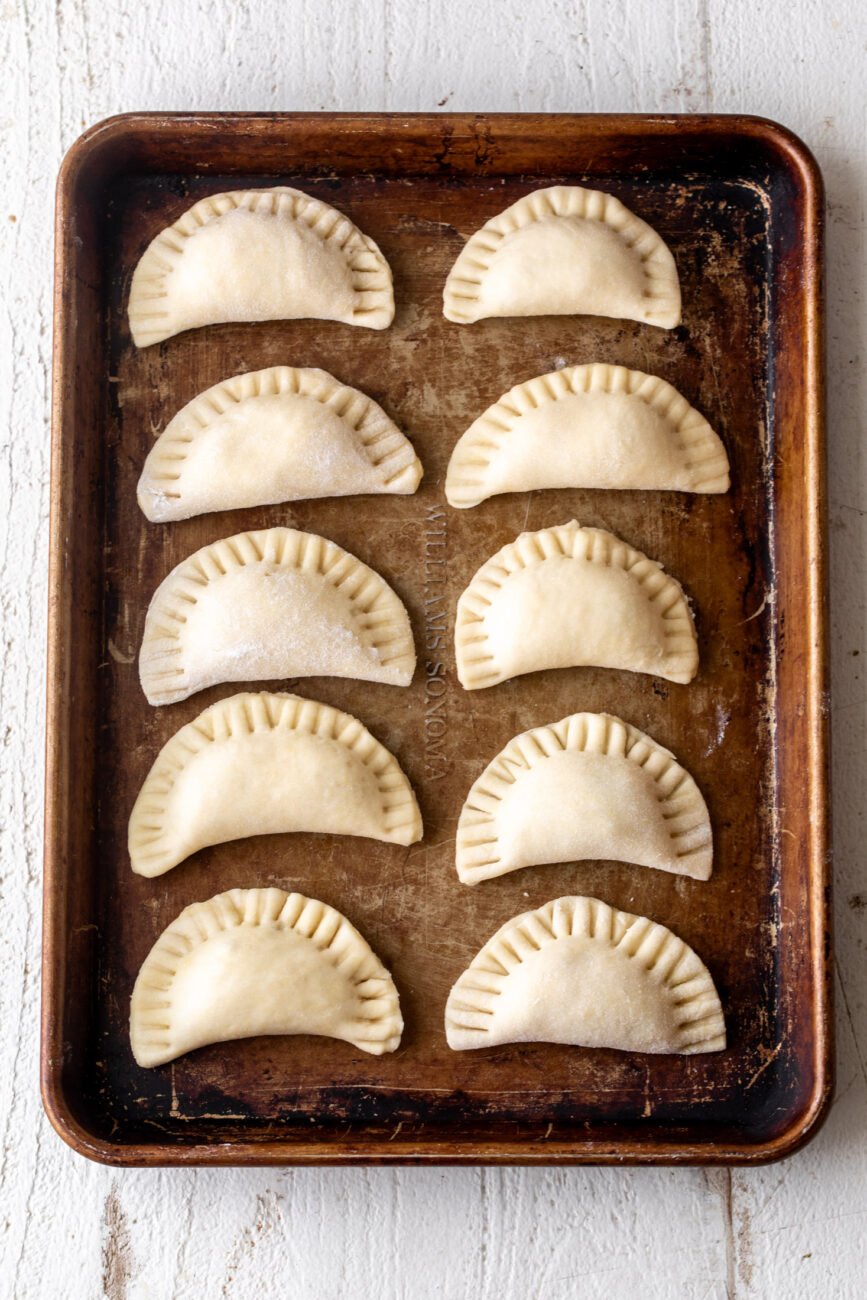
Set aside on a lightly floured baking sheet and repeat the process with the remaining dough and filling.

Bring a large pot of water to a boil over high heat. Add the pierogi about 10 at a time so the pot is not overcrowded. Cook until the pierogi float to the top, about 1 to 2 minutes and use a slotted spoon to remove to a plate. Continue with the remaining pierogi.
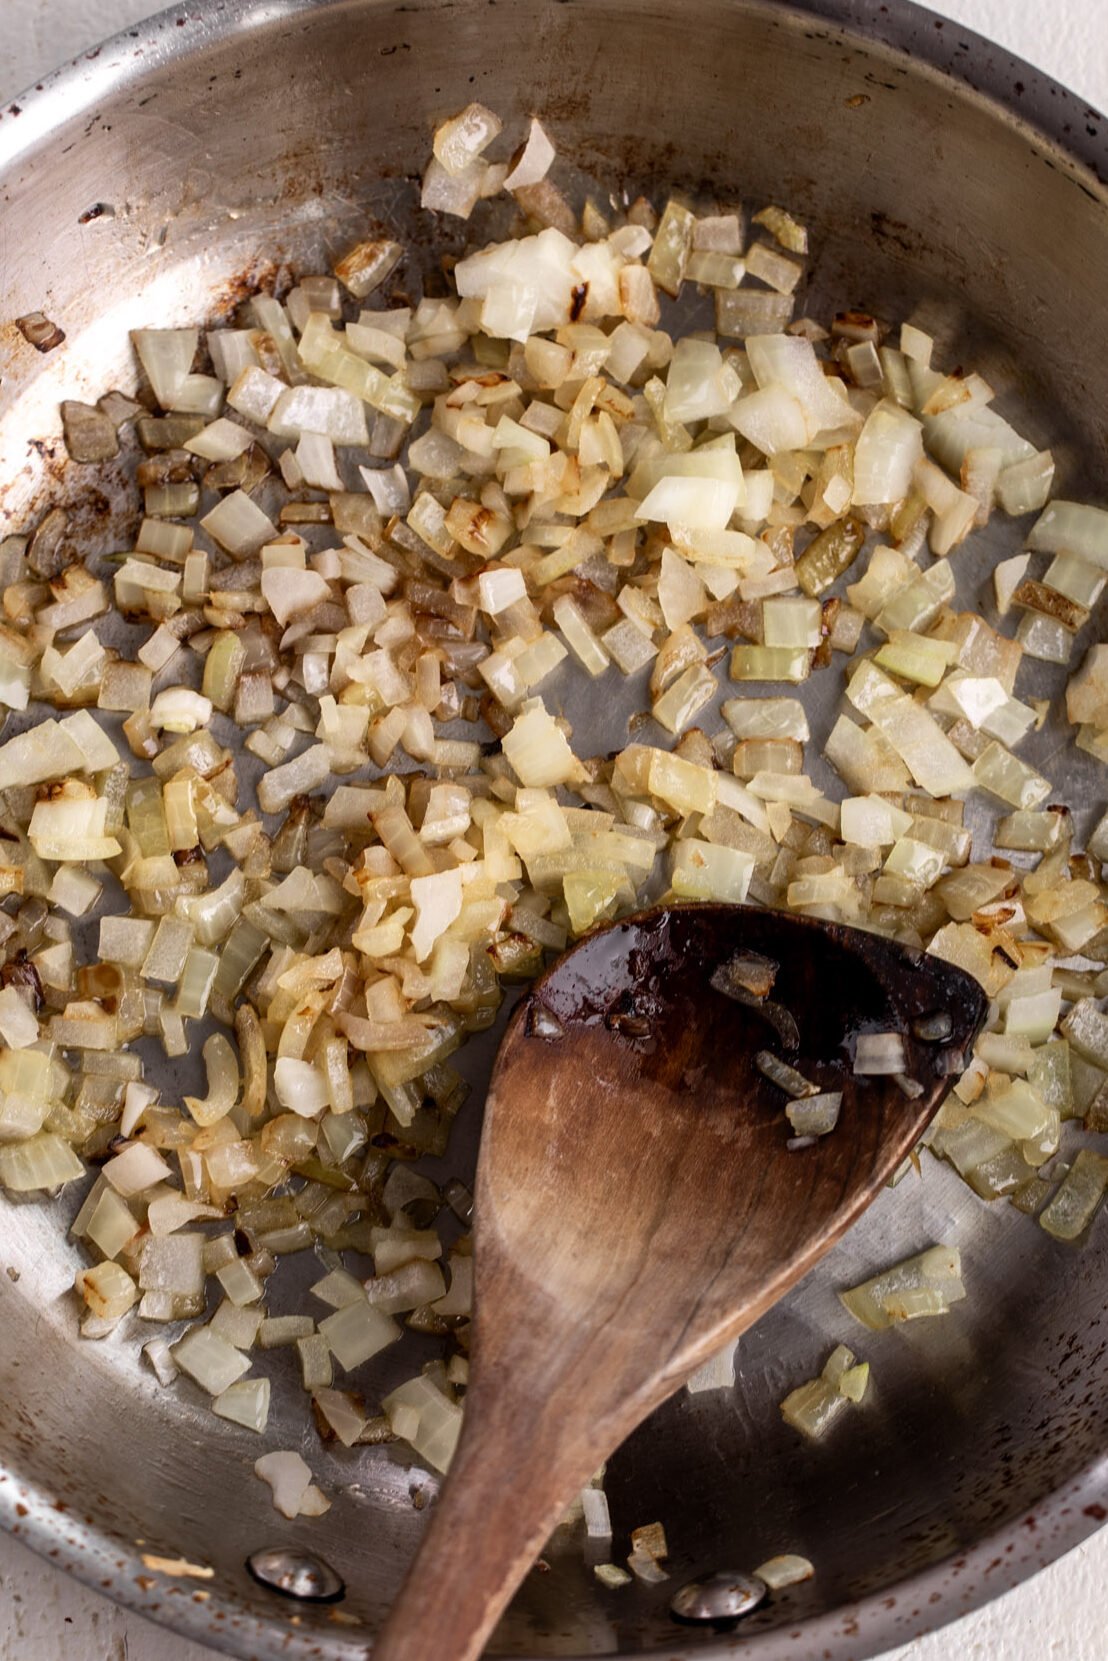
Heat a large sauté pan over medium heat, add the oil and heat through. Add the onion and sauté, stirring occasionally until the onions are golden brown, about 10 minutes. Remove and set aside in a bowl.

Return the pan to medium heat and add 2 tablespoons of the butter and allow to melt. Working in batches as to not overcrowd the pan add pierogies and cook until crispy and golden brown, about 2 minutes on each side. Remove and repeat with the remaining butter and pierogi.

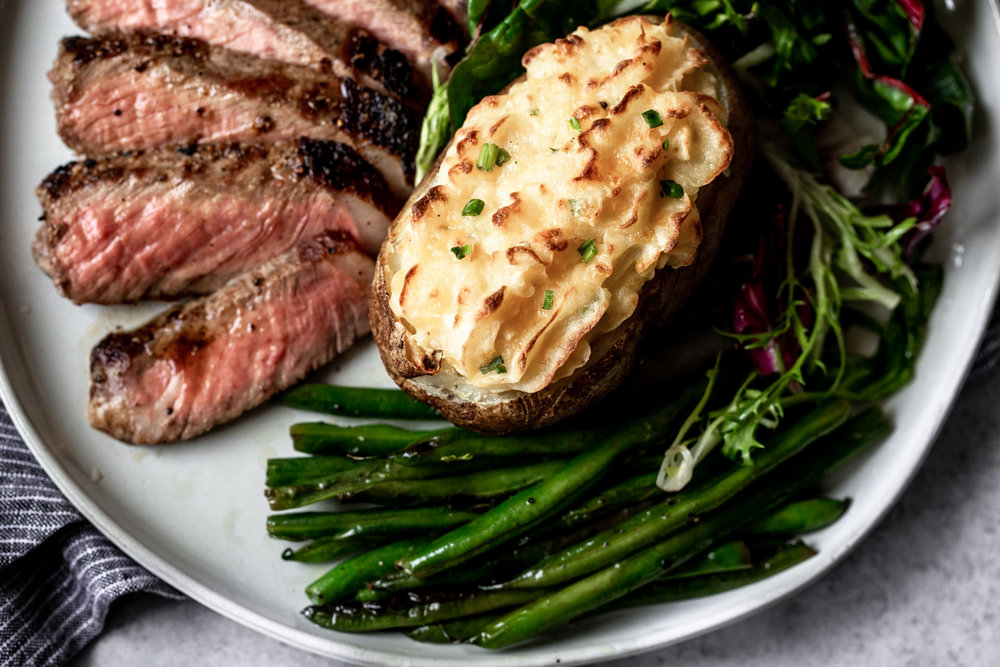
Arrange pierogi on a platter topped with onions and chives with sour cream on the side for dipping.
How to Freeze Pierogi
I like to make a double batch and freeze them they can easily be boiled and fried them as needed. Simply arrange the filled pierogi on a parchment paper lined baking sheet and add to the freezer for at least 1 hour. Transfer the frozen pierogi to a large resealable plastic bag and freeze for up to 3 months.
How to Store Pierogi
Store cooked pierogi in an airtight container in the fridge for up to 3 days. Reheat in a skillet with butter until warmed and crisp.
FAQ – Frequently Asked Questions
Pierogi is the general term for filled Polish dumplings. Pierogi ruskie specifically refers to pierogi filled with potatoes and cheese.
Traditionally, farmer’s cheese or cottage cheese is used. This recipe uses Cheddar for a slightly bolder, creamier flavor.
Yes! Pierogi can be assembled and refrigerated for up to 24 hours or frozen for up to 3 months before cooking.
Pan-frying isn’t required for pierogi, but highly recommended! It adds crispy edges and extra flavor that make the pierogi even better.
Freeze uncooked pierogi in a single layer on a parchment paper-lined baking sheet, then transfer to a freezer-safe bag once solid. Boil directly from frozen.
Classic toppings include sour cream, sautéed onions, butter, and chives. They also pair well with kielbasa or a simple green salad.
Store cooked pierogi in an airtight container in the fridge for up to 3 days. Reheat in a skillet with butter until warmed and crisp.
Other Recipes to Try
If you enjoy this potato and cheese pierogi recipe, I recommend checking out some of these:
Made this dish? Be sure to rate the recipe and drop a comment below! Your feedback means everything (and helps others find it too)!
Cheesy Potato Pierogi (Pierogi Ruskie)
Rate this Recipe
Ingredients:
For the dough:
- 2 cups all-purpose flour
- ½ teaspoon kosher salt
- 1 large egg
- ½ cup sour cream
- 4 tablespoons butter, at room temperature
For the cheddar potato filling:
- 2 medium russet potatoes, peeled and cut into 1” pieces, about 1 ½ pounds
- 2 tablespoons heavy cream
- 2 cups shredded sharp white cheddar cheese
- 1 tablespoon diced chives
- 1 teaspoon kosher salt
- ½ teaspoon freshly ground black pepper
For assembly and serving:
- All-purpose flour, for dusting, as needed
- 2 tablespoons extra-virgin olive oil
- 1 cup diced yellow onion
- 4 tablespoons unsalted butter, divided
- 1 teaspoon diced chives
- ½ cup sour cream, for serving
Instructions:
For the dough:
- In the bowl of a stand mixer combine the flour and salt, making a well in the middle. Add the egg and mix on low speed until just combined. Add the sour cream and butter and mix until fully incorporated, about 3 minutes.
- Turn the dough out onto a clean, lightly floured workspace and knead until smooth, about 1 minute. Wrap the dough in plastic wrap and refrigerate for 1 hour.
For the filling:
- In a large pot over medium-high heat, bring water to a rolling boil. Cook the potatoes until they are tender, stirring occasionally, about 20 minutes. Drain the potatoes completely. Add the potatoes to the bowl of a standing mixer or a large bowl if using a handheld mixer.
- Add the cream and cheese, mixing on medium speed until smooth, about 2 minutes. Add the chives and season with salt and pepper, stirring to combine.
For assembly and serving:
- On a clean lightly floured work surface roll the dough out 1/8-inch thick. Use a 3½ -inch circular cookie cutter to cut the dough. Working one at a time, fill each circle with about 1 tablespoon of the filling. Fold the edges around the filling in a half-moon and press with your fingers to seal shut. Use a fork to help seal them and create decorative edges.
- Set aside on a lightly floured baking sheet and repeat the process with the remaining dough and filling.
- Bring a large pot of water to a boil over high heat. Add the pierogi about 10 at a time so the pot is not overcrowded. Cook until the pierogi float to the top, about 1 to 2 minutes and use a slotted spoon to remove to a plate. Continue with the remaining pierogi.
- Heat a large sauté pan over medium heat, add the oil and heat through. Add the onion and sauté, stirring occasionally until the onions are golden brown, about 10 minutes. Remove and set aside in a bowl.
- Return the pan to medium heat and add 2 tablespoons of the butter and allow to melt. Working in batches as to not overcrowd the pan add pierogi and cook until crispy and golden brown, about 2 minutes on each side. Remove and repeat with the remaining butter and pierogi.
- Arrange pierogi on a platter topped with onions and chives with sour cream on the side for dipping.
Notes:
Nutrition:
TAG ME ON INSTAGRAM TO BE FEATURED ON MY STORIES! @cookingwithcocktailrings


Rate + Review
WHAT DID YOU THINK OF THIS RECIPE?