
Homemade Lunchables (Better Than the Original)
jump toRECIPE
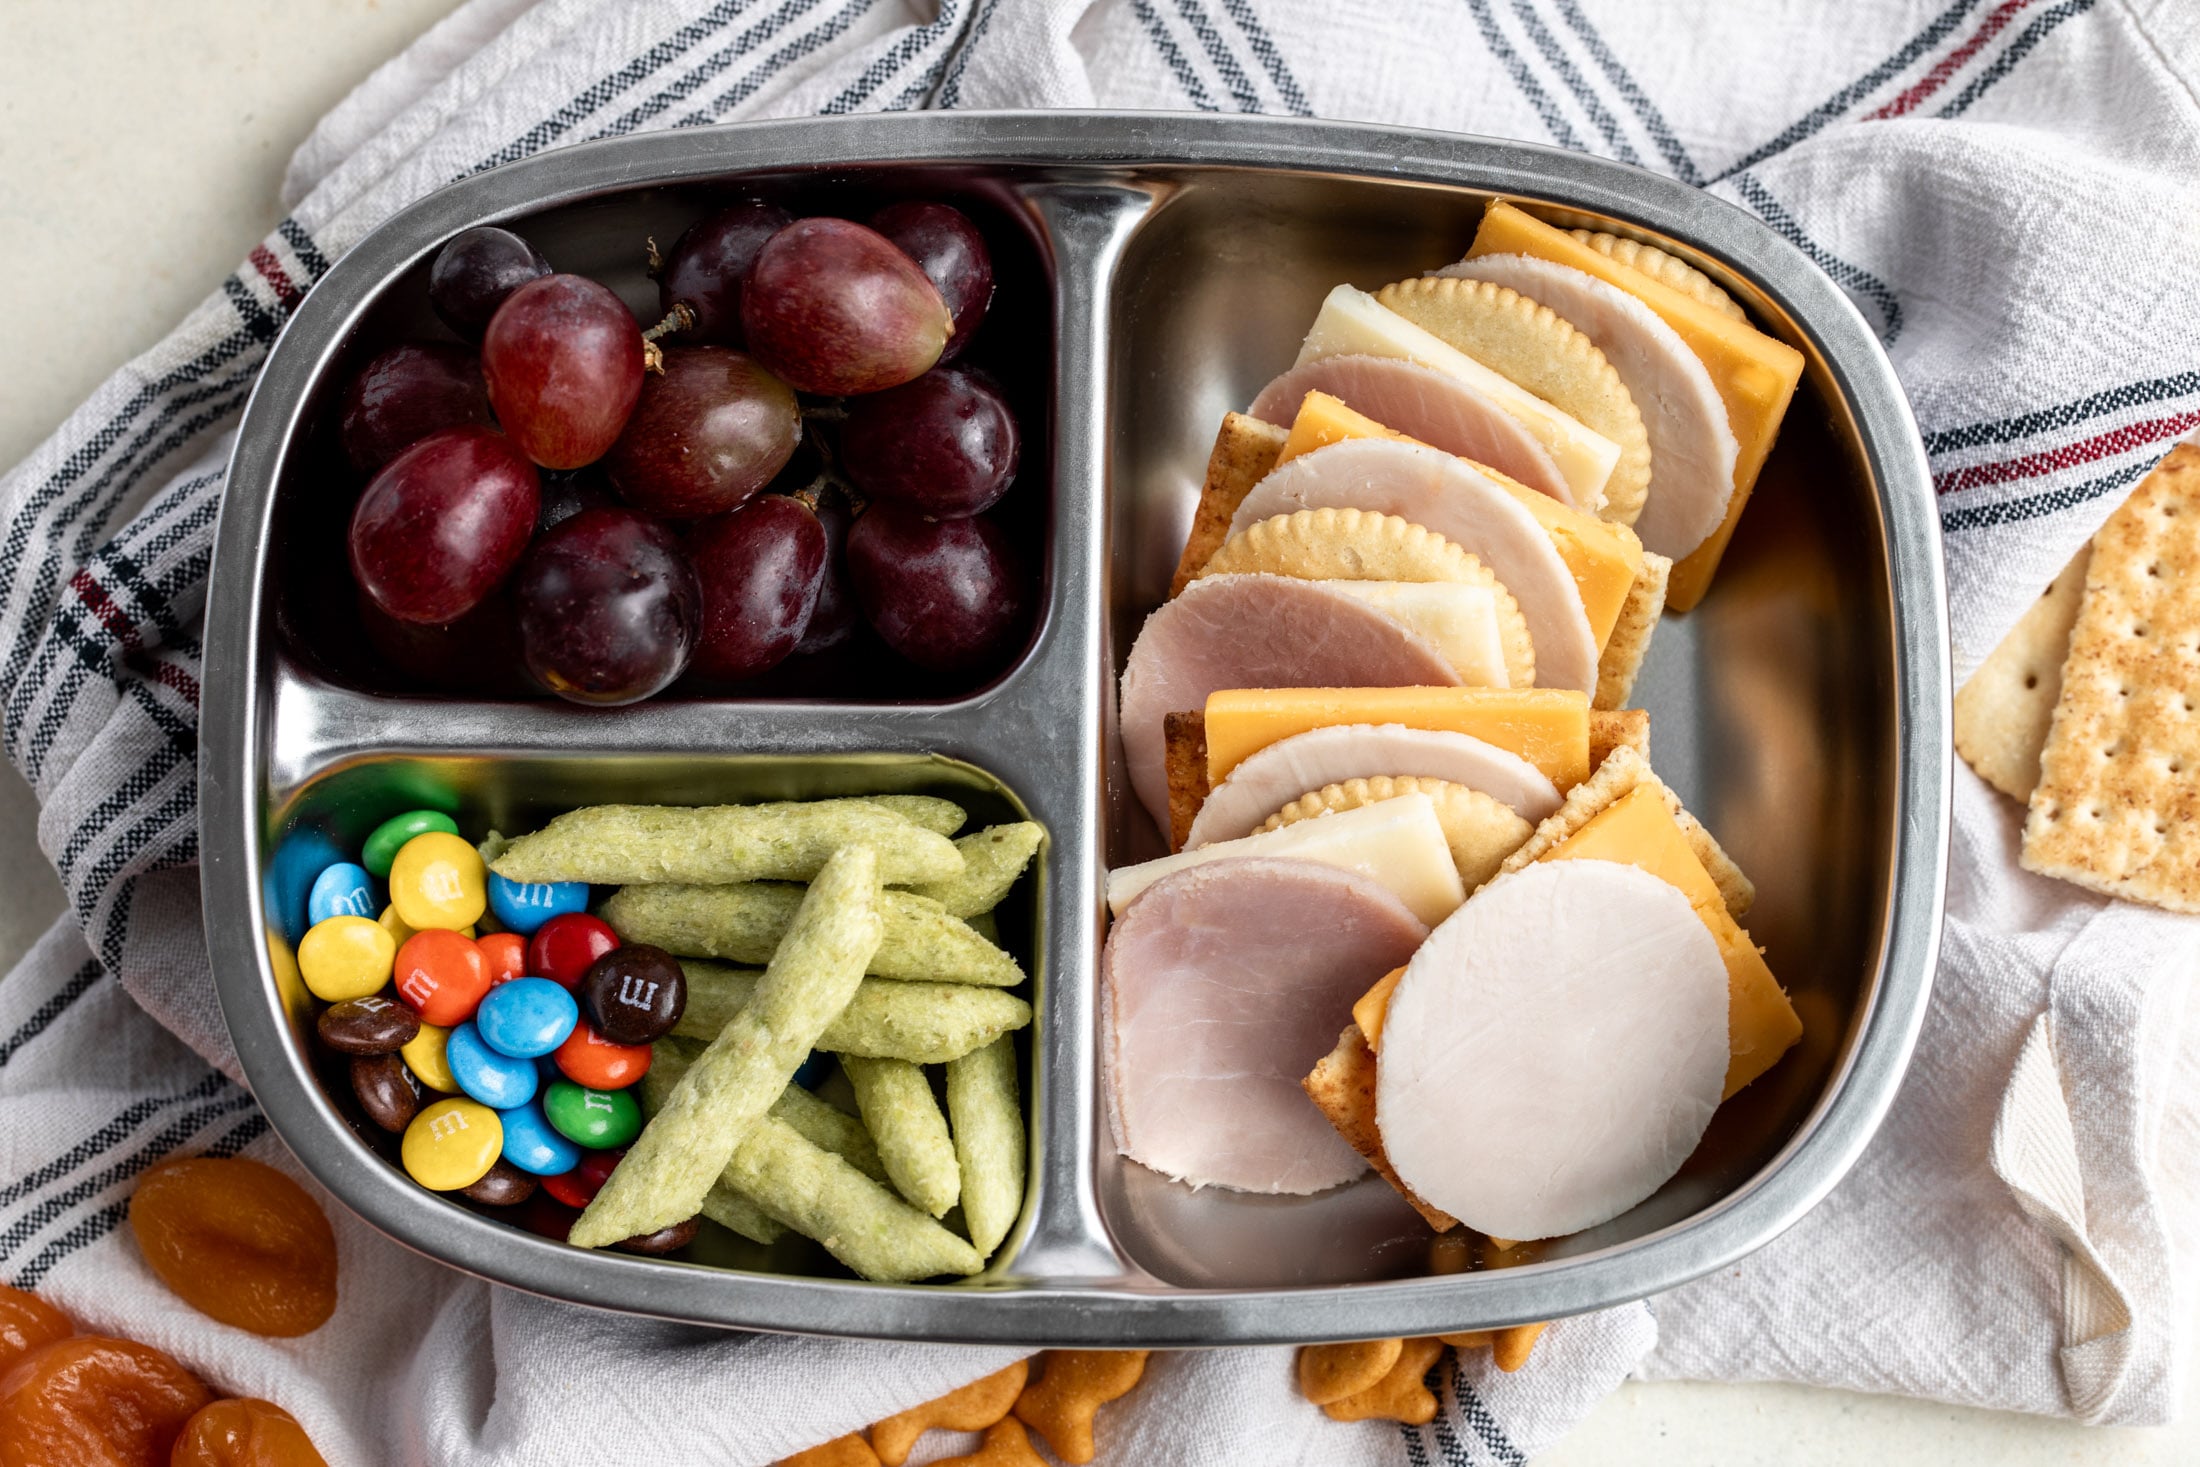
Homemade Lunchables are perfect for packing kids’ lunches, but equally good for adults who refuse to give up one of childhood’s greatest hits. There are very few school lunch memories more universally beloved than the Lunchable. The days my mom packed one in my bag were instantly the best days. The little tray of sliced cheese, deli meat, crackers, and a small sweet treat felt like the ultimate lunchtime luxury.
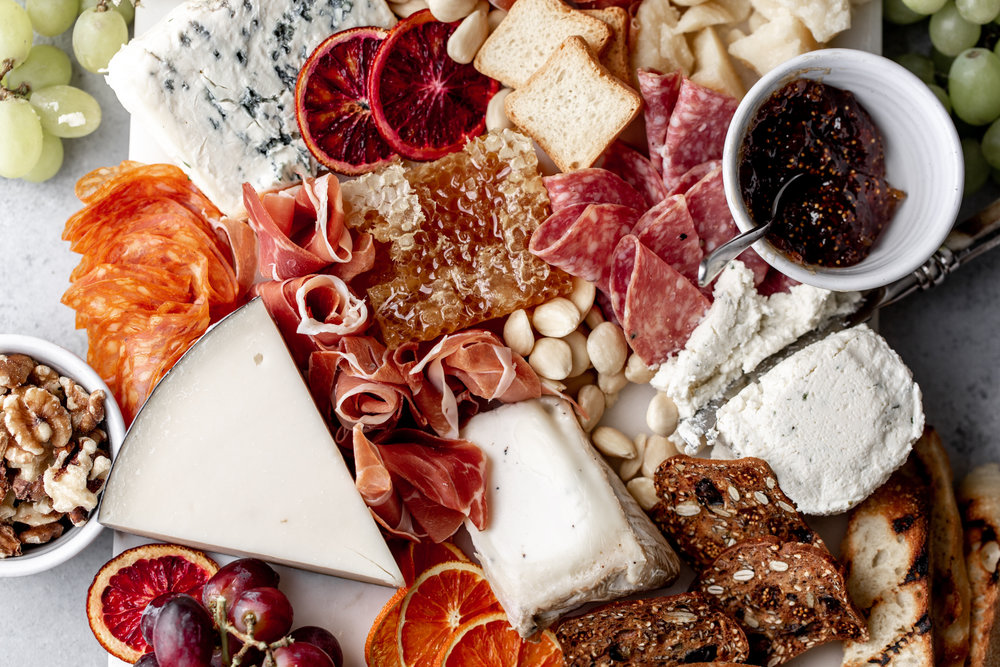
This homemade version captures everything that made the original so exciting but with cleaner, less processed ingredients. Think of it as a scaled-down charcuterie board with a combination of sliced cheese, quality deli meats, crackers, and a few extras pulled together from whatever you already have in the kitchen. I like to batch these at the beginning of the week!
I recommend using multi-compartment bento boxes to store in separate compartments but if you are using a regular larger container you can use silicone liners or paper cupcake baking cups.
In addition to homemade Lunchables I also have recipes for other nostalgic kid-friendly favorites like pizza bagel bites, homemade one-pot spaghetti-o’s and stove-top broccoli Cheddar mac and cheese.
Why You’ll Love Homemade Lunchables
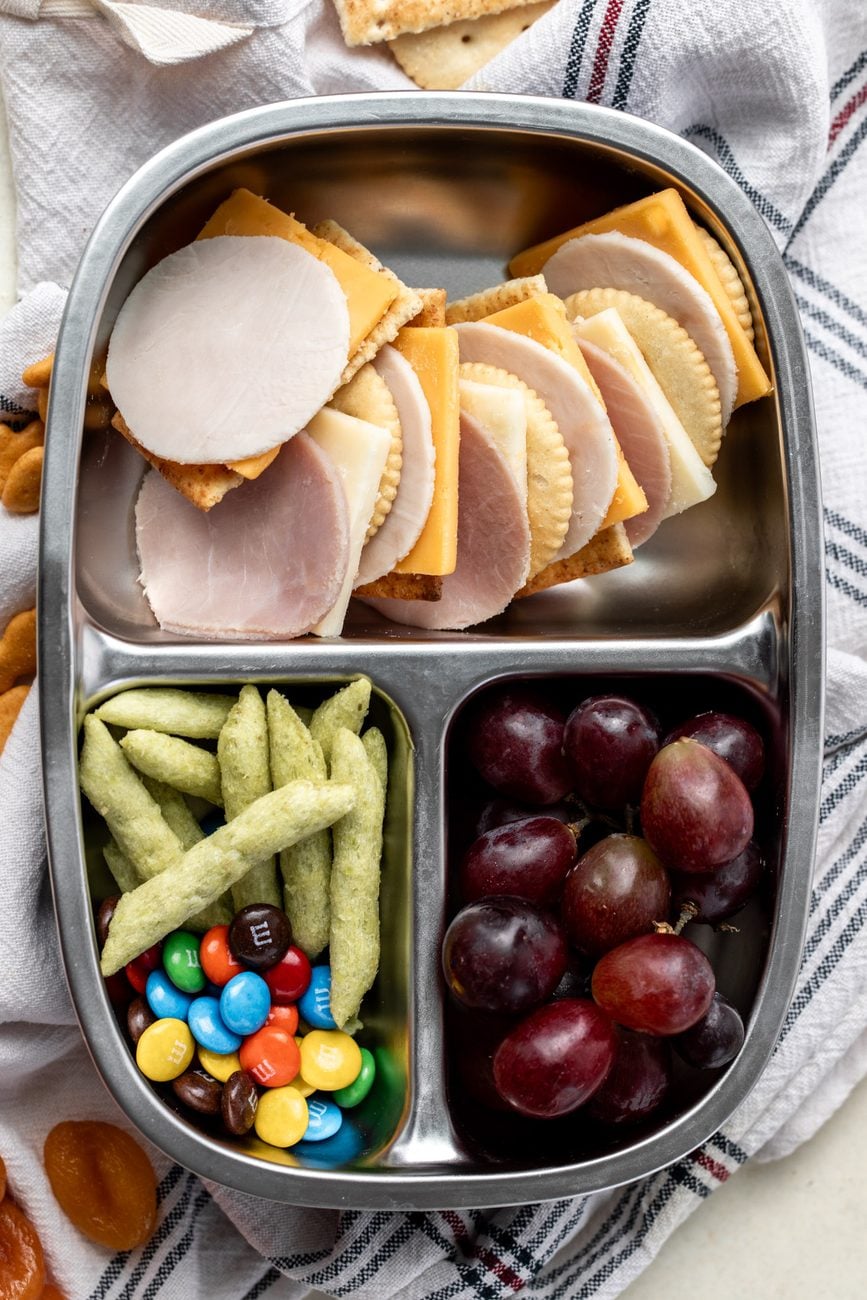
- Nostalgia, upgraded. Everything that made Lunchables the best day of the school week with the little tray of meat, cheese, crackers, and a sweet treat but is reimagined with real ingredients and significantly better flavor.
- Ready in five minutes. Slice, arrange, pack. There is no simpler lunch to put together and meal prep ahead of time!
- Completely customizable. This is a framework, not a fixed recipe. Use whatever deli meat, cheese, crackers, fruit, and extras you already have in the kitchen, as it’s absolutely flexible with ideas offered below.
Key Ingredients in This Recipe
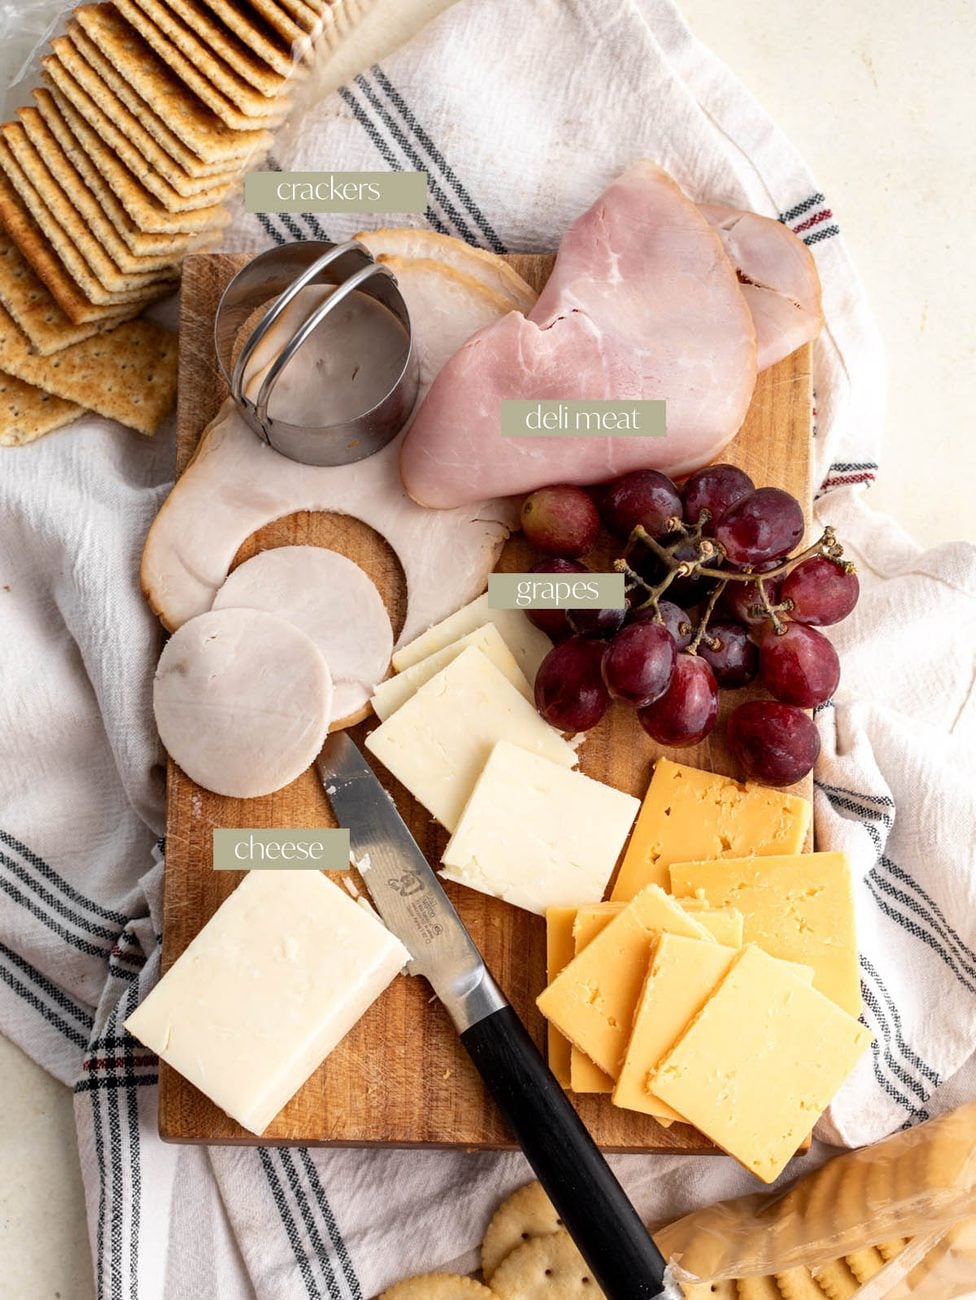
- Cheese – I love a sharp Cheddar for adults or a mild Cheddar for kids. Just thinly slice it and it’s ready for stacking.
- Deli meat – For the best quality, I prefer to get my deli meat freshly sliced at the deli-counter. For this, I recommend getting a thicker cut.
- Crackers – Saltines, buttery crackers like Ritz or stoneground wheat crackers make for great additions to pair with the cheese and meat.
- Fruit – I like to add a handful of seedless grapes (halved for younger kids).
A full ingredient list with exact amounts can be found in the recipe card below.
Special Equipment – Best Bento Boxes for Kids
- This Lalo one has a silicone lid, is easy to clean and fits inside most lunchboxes (pictured below).
- This all stainless-steel one has 5 separate compartments.
Swaps and Substitutions
You can easily make swaps for what you already have! Check out these other homemade Lunchable ideas:
- Protein: While I love using a classic like turkey or ham you can also use a more shelf stable alternative like pepperoni stick or a beef jerky stick.
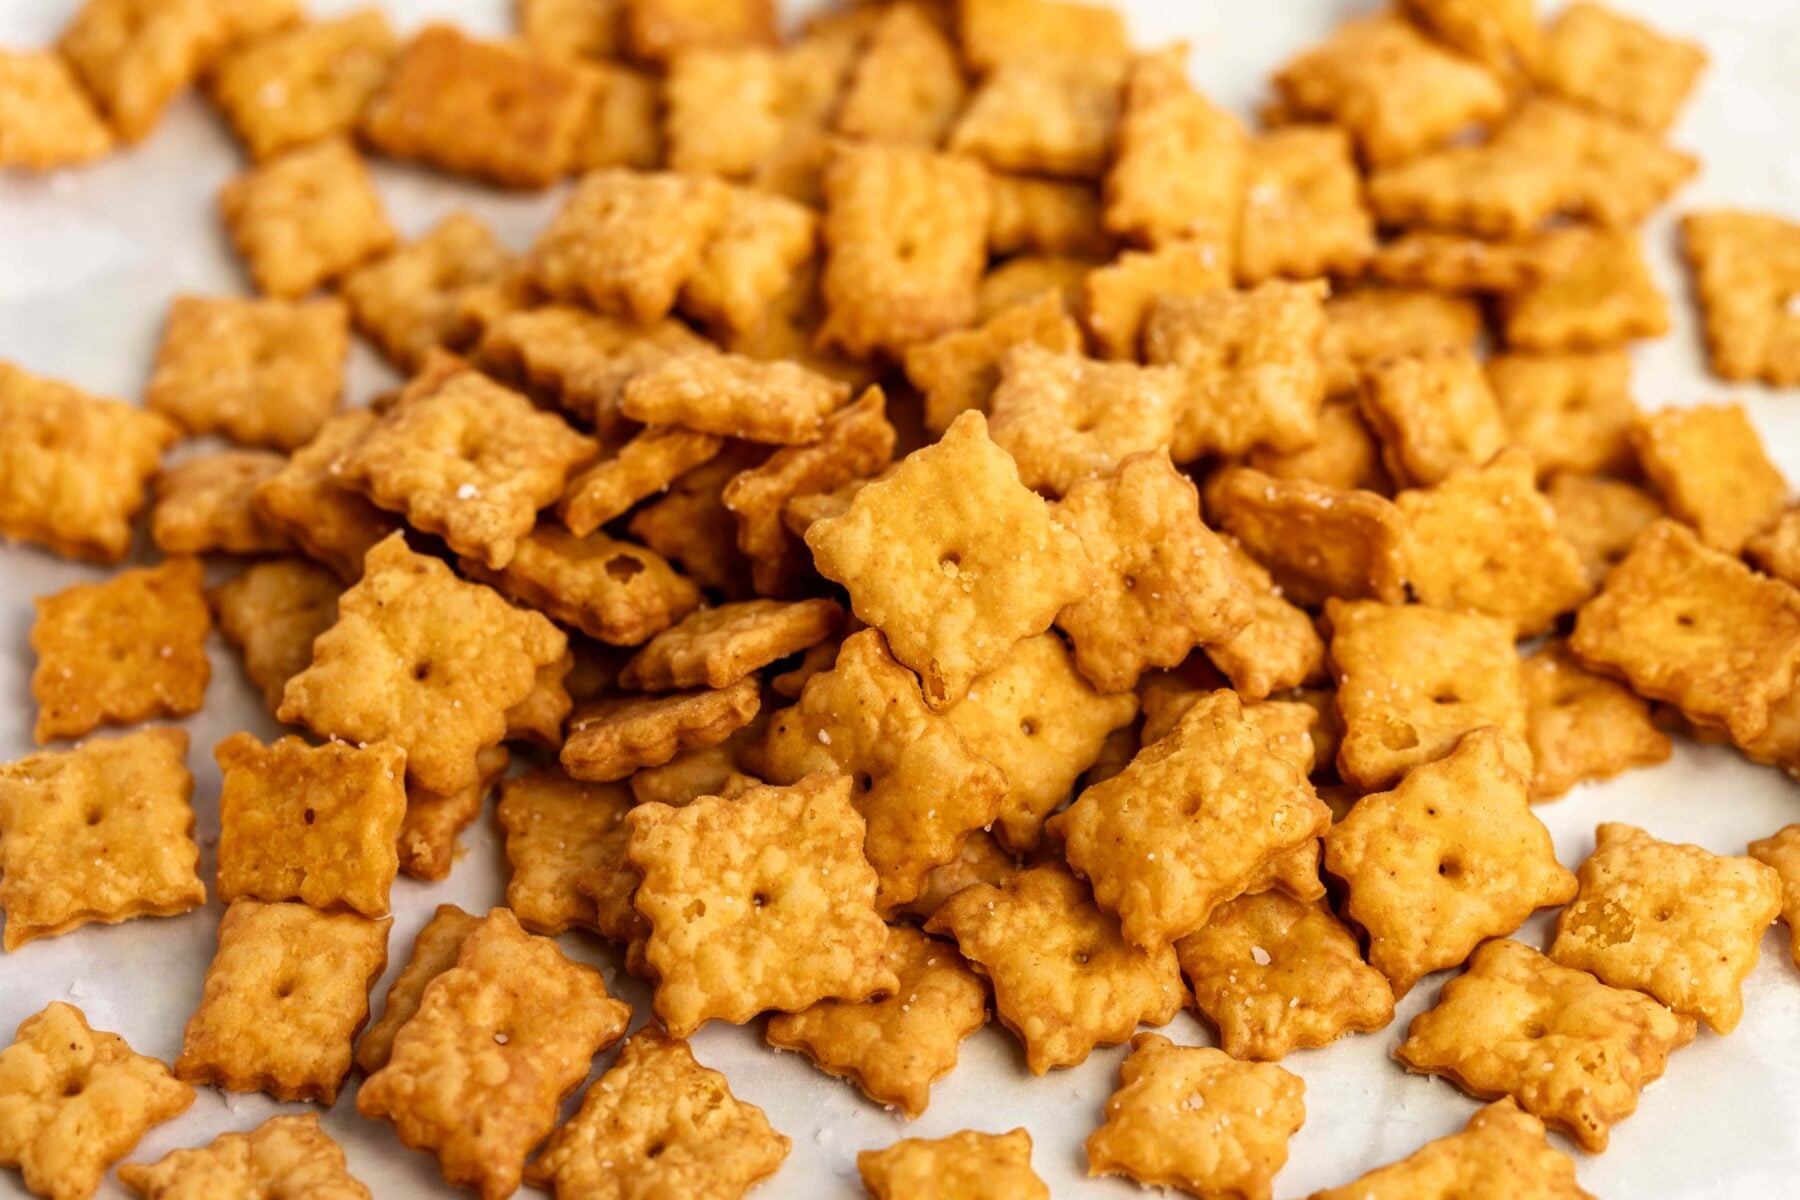
- Starch: Try swapping crackers for mini naan or pitas, pretzels, Goldfish, Cheez-it’s or chips.
- Cheese: You can’t go wrong with a classic Cheddar but mix it up with other semi-hard cheeses like Colby or Monterey Jack (mild and creamy), Gouda (rich and nutty) or Pepper Jack (spicy and creamy). For a funkier cheese cut up slices of Gruyere.
- Fruit and veggies: I like to provide a fresh ingredient. A great alternative to grapes is apple slices, clementines, carrots, broccoli, cauliflower or grape tomatoes.
- Gluten-free: To make Lunchables gluten-free simply swap the crackers for a gluten-free alternative.
- Vegetarian: Swap meats for other protein-rich options like hard boiled eggs or hummus.
- Desserts: Any favorite store-bought or homemade cookies are great. I also love making strawberry rhubarb bars which are a great addition! No-bake chocolate chip oat energy balls are loaded with protein for a mid-day boost! Unreal also has some great dye-free M&M’s that are a great swap.
Pro Tip
To get that perfect stacking shape use a 2” (5cm) circle cookie cutter to cut circles from the turkey or ham.
How to Make Homemade Lunchables (3 Easy Steps)
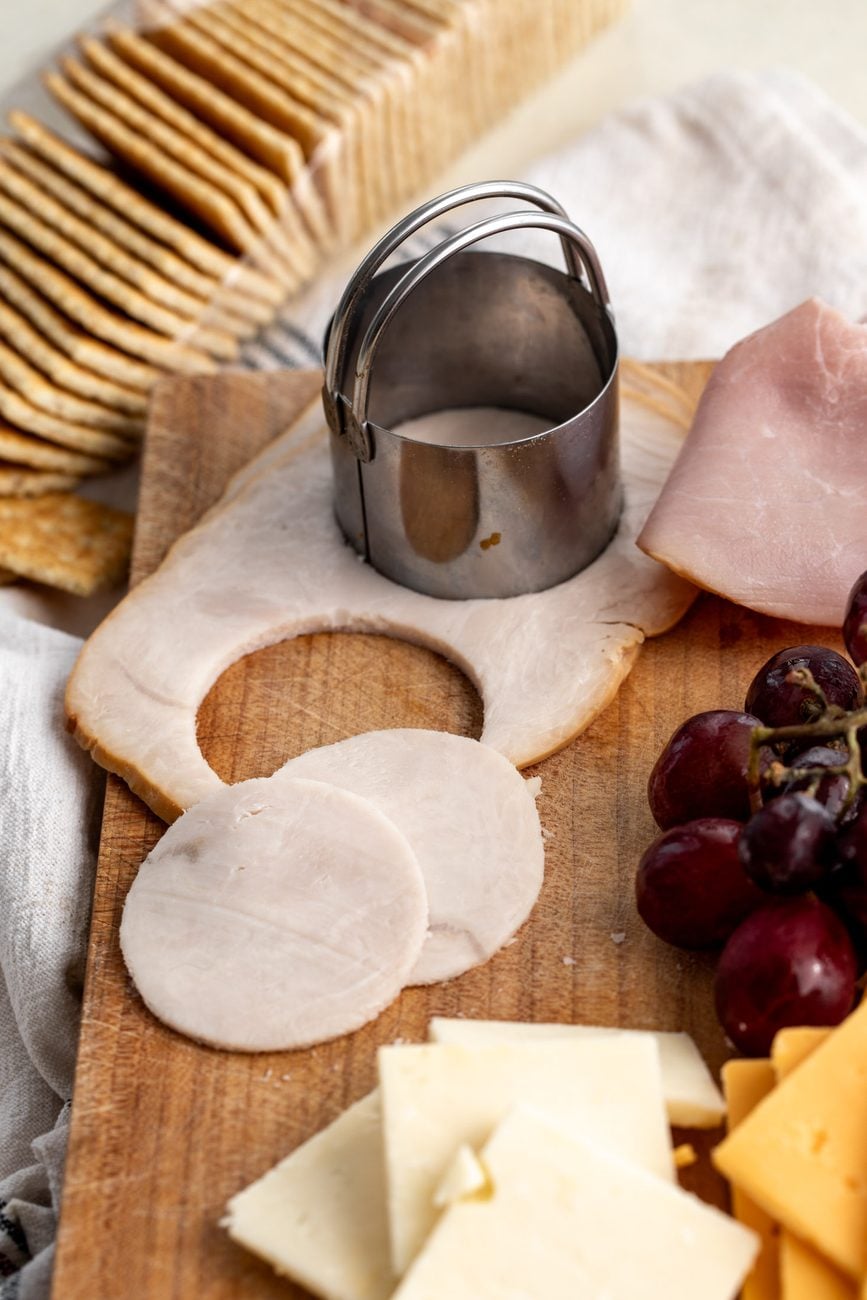
Use the cookie cutter to cut circles from the deli meat. Cut the cheese into thin slices.
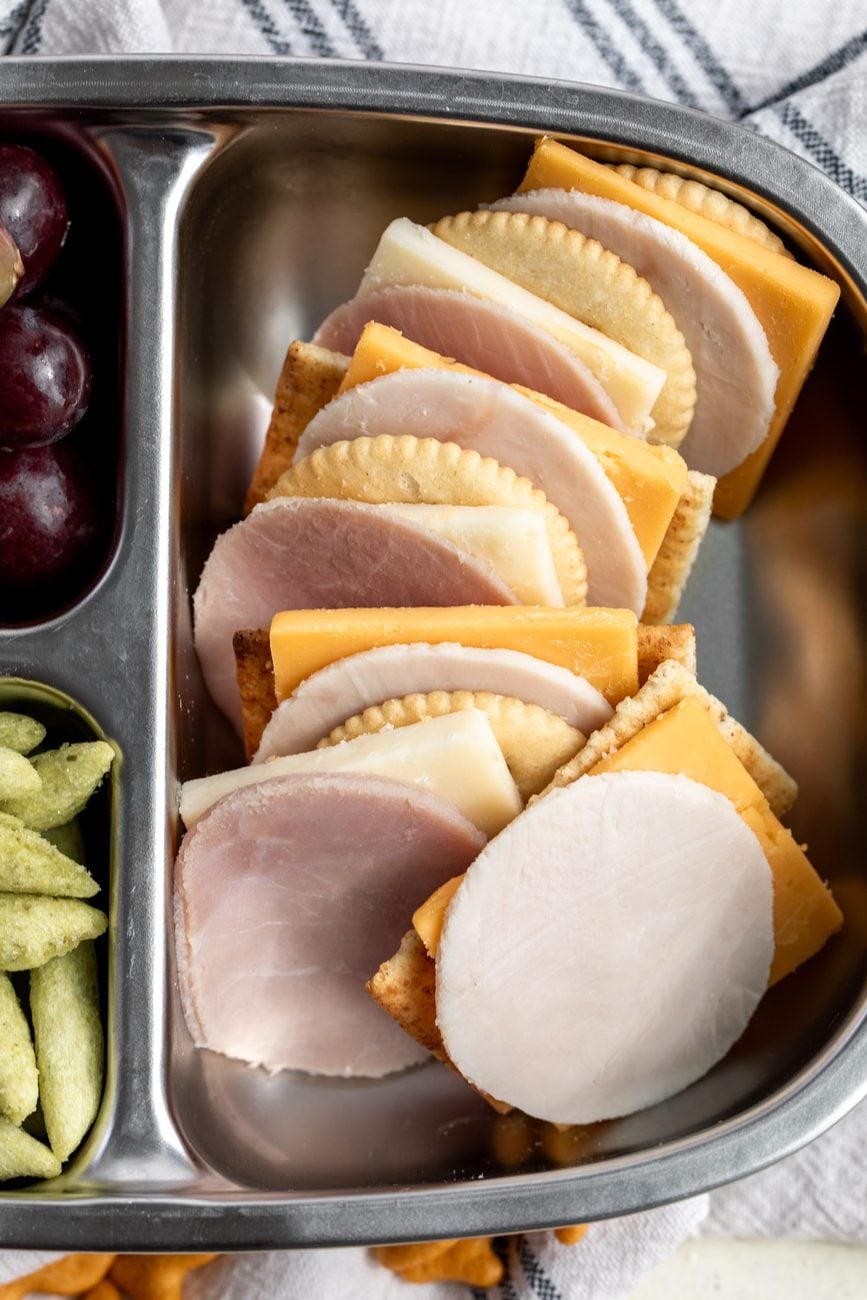
Alternate the meat, cheese and crackers into premade stacks in the largest compartment.
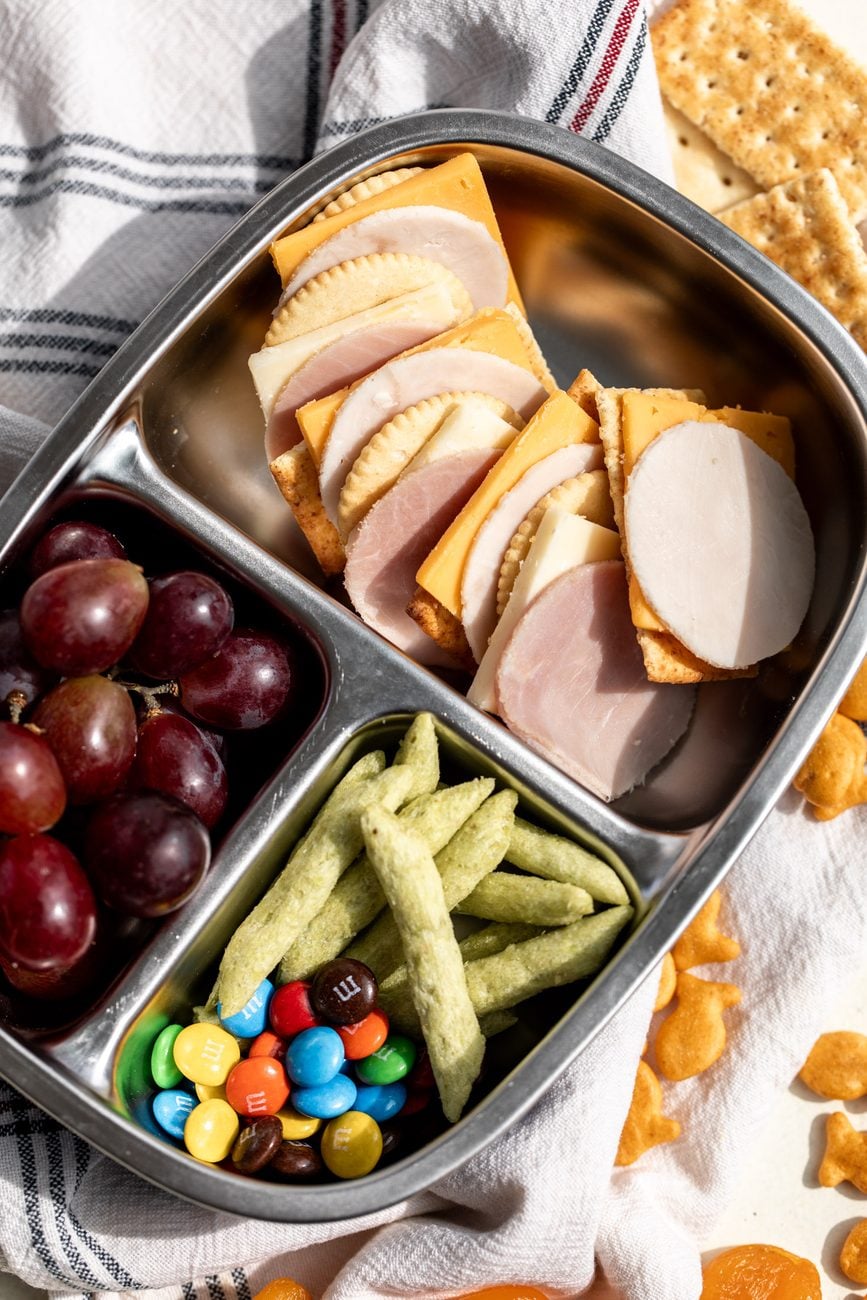
Add the fruit, an additional snack (optional) and dessert (optional) then box it up!
How to Prep Lunchables Ahead of Time
Homemade Lunchables are one of the best meal prep options!
- Assemble individual servings in airtight containers or bento boxes and refrigerate for up to 4 days.
- Keep crackers separate and add them the morning of to maintain their crunch.
- Fresh fruit is best added the day of as well, since it can brown or release moisture overnight.
FAQ – Frequently Asked Questions
The classic Lunchables made by Kraft are not, no. They’re loaded with processed ingredients and preservatives, so this homemade version swaps in cleaner alternatives.
Pack the components in separate small containers or compartments within a bento box to prevent anything from getting soggy. Keep crackers separate from any wet ingredients like fruit, tomatoes, or dips until ready to eat. I recommend adding an ice pack in the lunchbox. It keeps everything fresh for up to 4–5 hours, which covers most school and work schedules comfortably.
A divided bento box is the most practical option. It keeps everything separated, eliminates the need for multiple small containers, and is reusable and easy to clean.
I hope you love these homemade lunchables. If you make them be sure to leave a comment and a rating so I know how you liked them. Enjoy!
Homemade Lunchables (Better Than the Original)
Rate this Recipe
Equipment:
Ingredients:
- 2 ounces thick sliced deli meat (ham or turkey)
- 2 ounces ounces sharp Cheddar cheese or mild Cheddar
- 8 snack crackers (I like Ritz for the most classic)
- ½ cup seedless grapes halved for younger kids
- ½ cup additional snack like goldfish (optional)
- Sweet treat like a small cookie, small package of m&ms or fun-size candy bar (optional)
Instructions:
- Use the cookie cutter to cut circles from the deli meat. Cut the cheese into thin slices.
- Alternate the meat, cheese and crackers into premade stacks in the largest compartment.
- Add the fruit, an additional snack (optional) and dessert (optional) then box it up!
Notes:
Nutrition:
TAG ME ON INSTAGRAM TO BE FEATURED ON MY STORIES! @cookingwithcocktailrings
Finally, a clean ingredient lunchable. Packed this for both of my kids’ first day of school lunch today. Their bento boxes were empty when they arrived off the bus! Success!
So happy it is a hit!